Let me tell you something embarrassing. The first time I moved into a studio apartment, I genuinely thought my kitchen was broken. Not literally — but every single time I tried to cook anything, I’d end up with cutting boards balanced on the stove, spice jars rolling off the counter, and absolutely no room to actually do anything. I couldn’t figure out why cooking felt so chaotic until a friend walked in, looked around, and said, “You don’t have a storage problem. You have an organization problem.”
That stung a little. But she was right.
Over the next few months, I went through a real trial-and-error phase — buying things that didn’t work, rearranging the same five items repeatedly, and slowly figuring out what actually kept my counters clear without making the rest of the kitchen feel like a storage unit. These seven hacks? They’re the ones that stuck. The ones I still use, still recommend, and honestly wish someone had told me on day one.
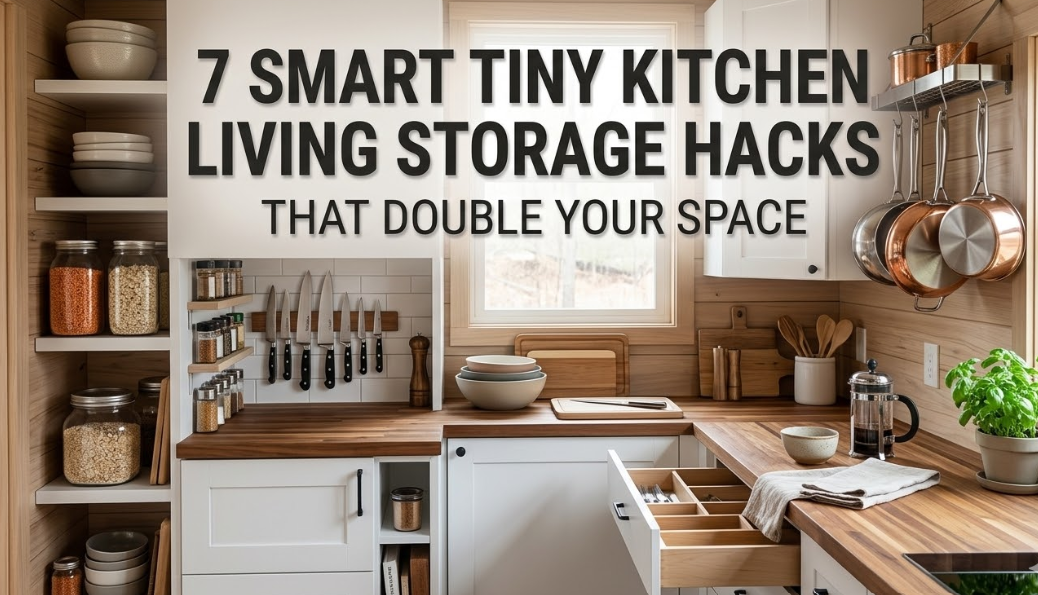
1. Mount a Magnetic Knife Strip (And Never Block Counter Space With a Knife Block Again)
A knife block was the first thing I bought for my kitchen. It also took up roughly 20% of my usable counter space and collected crumbs in ways that I still don’t fully understand.
Switching to a magnetic knife strip was one of those changes that felt almost too simple. You mount it on the wall (it takes maybe 15 minutes with basic tools), slide your knives onto it, and suddenly that entire section of counter is just… free.
A few things I learned the hard way:
- Mount it at eye level or just below. Too high feels awkward. Too low and you’re crouching to grab knives, which is just annoying.
- Keep it away from the stove. Heat and steam aren’t great for knife handles over time.
- Wipe it down weekly. Magnetic strips grab metal dust and tiny debris along with your knives.
The one I use is a basic stainless steel strip from Amazon — nothing fancy, around $18. It holds eight knives easily, and I’ve had it for three years without a single issue.
2. Use the Inside of Cabinet Doors — Seriously, That Space Is Wasted
This one took me embarrassingly long to figure out. The inside of every cabinet door is essentially free real estate that most people completely ignore.
You can mount small racks, hooks, or even tension-rod organizers on the inside of cabinet doors to hold:
- Cutting boards and flat lids
- Cleaning supplies under the sink
- Spice packets and small seasoning jars
- Pot lids (a proper lid organizer here is chef’s kiss)
For spices specifically, I use an over-the-door spice rack that holds about 20 jars. Before this, I had two rows of spice jars sitting on the counter next to my stove. Clearing that space felt like getting a new kitchen.
What to avoid: Don’t overload the door. Cabinet hinges are not designed for heavy weight, and a cracked hinge is a real pain to fix in a rented apartment.
If you’re still figuring out the basics of making your space work smarter, this guide on 11 easy tiny kitchen living storage tricks I wish I knew earlier covers some foundational moves that genuinely help.
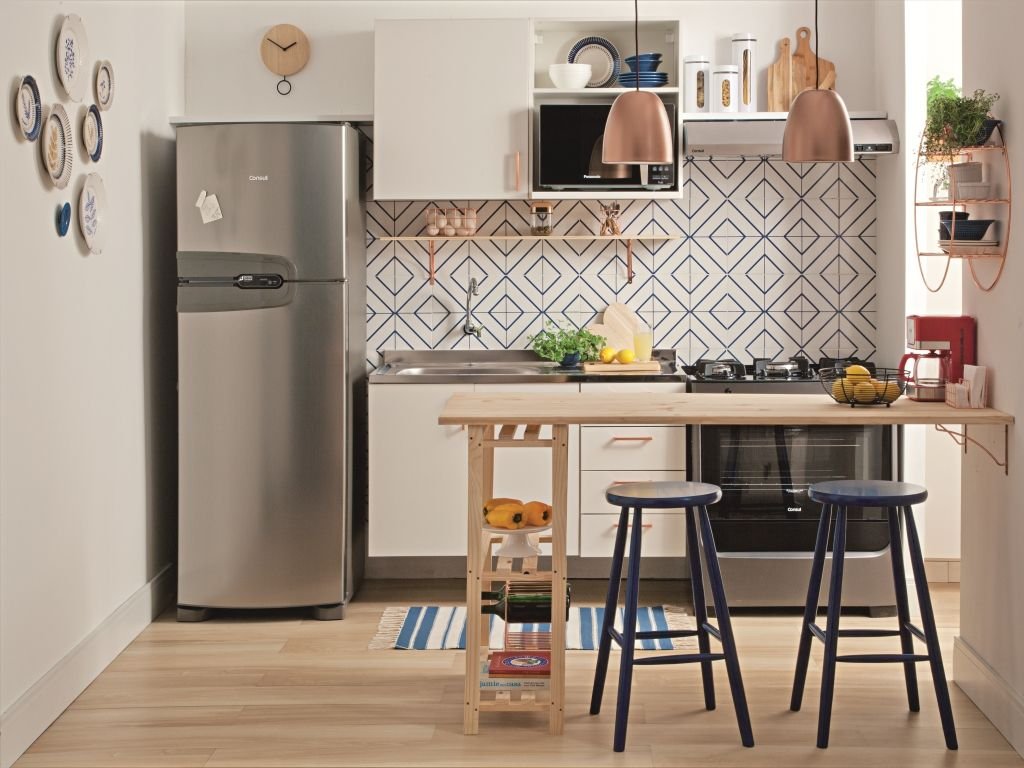
3. Get a Rolling Cart and Make It Do Multiple Jobs
When I first saw someone using a rolling kitchen cart, I thought it was just a gimmick for people who wanted their kitchen to look like a cooking show set. I was wrong.
A rolling cart is one of the most flexible storage tools you can add to a tiny kitchen because it doesn’t have to live in one place. Mine parks next to the fridge most of the time, but I pull it out as extra counter space when I’m cooking, roll it near the table when we eat, and push it completely out of the kitchen when I need the floor space.
Here’s how I have mine set up:
| Cart Level | What I Store There |
|---|---|
| Top surface | Active prep area when cooking |
| Middle shelf | Cookbooks, meal planning notebooks |
| Bottom shelf | Bulkier items (rice cooker, slow cooker) |
| Hooks on side | Oven mitts, small utensils |
The cart I use is the IKEA Råskog — it runs about $30-35, it’s sturdy, and the three-tier setup gives you a surprising amount of storage for something that moves around easily.
One thing to look for: make sure the cart has locking wheels. You don’t want it rolling mid-prep.
4. Vertical Storage Is Your Best Friend — Think Up, Not Out
Counter space is horizontal. The walls above your counter? Mostly vertical and mostly empty.
This shift in thinking genuinely changed how I approached my kitchen. Once I started looking up instead of sideways, I found a lot of room I’d been completely ignoring.
Some vertical storage ideas that actually work in practice:
Floating shelves above the counter. These are my personal favorite. I have two small wooden shelves above my prep area that hold oils, vinegar, and the things I reach for constantly while cooking. They’re anchored properly into studs (not just drywall anchors — please learn from my mistake on that one), and they’ve held up perfectly.
Pegboards. This is a bigger commitment but incredibly customizable. Mount a pegboard on one wall, add hooks and small shelves, and you can store pots, pans, utensils, and even spice jars all in one vertical zone. I’ve seen people fit everything they own on a single well-organized pegboard.
Wall-mounted pot racks. If you cook regularly, pots and pans are probably eating a significant amount of your cabinet space. A wall-mounted rack gets them out of cabinets and onto the wall, which also makes them easier to grab quickly.
For more vertical ideas specifically, 9 secret tiny kitchen living storage ideas using wall space goes deep on this exact topic with some creative options I hadn’t even considered.
5. Decant Your Dry Goods Into Uniform Containers
This one has a visual element that makes a big difference. When dry goods live in their original packaging — different sized bags, cardboard boxes, bulky cereal boxes — they take up more space than they need to, they’re harder to stack, and they look chaotic even when things are technically organized.
Decanting means transferring things like rice, pasta, oats, flour, sugar, lentils, and snacks into matching airtight containers. Once I did this, I could stack them, line them up properly in cabinets, and immediately see what I had without digging through a pile of half-open bags.
The containers I use are OXO Pop Containers — they’re airtight, stackable, and have a satisfying press-to-open top that actually seals properly. I also label everything with a chalk marker because apparently my memory isn’t as good as I assumed it was. (Pasta and rice look shockingly similar in a clear container at 7am.)
Bonus: When everything is in clear, uniform containers, you notice sooner when you’re running low on something. Less “oh no, I thought we had flour” moments mid-recipe.
A quick comparison of container types:
| Container Type | Best For | Stackable | Airtight |
|---|---|---|---|
| OXO Pop Containers | Dry goods, pantry staples | ✅ Yes | ✅ Yes |
| Glass jars with lids | Spices, small items | Partially | ✅ Yes |
| Basic plastic bins | Snacks, packets | ✅ Yes | ❌ No |
| Lazy Susans | Corner shelves, oils | N/A | N/A |
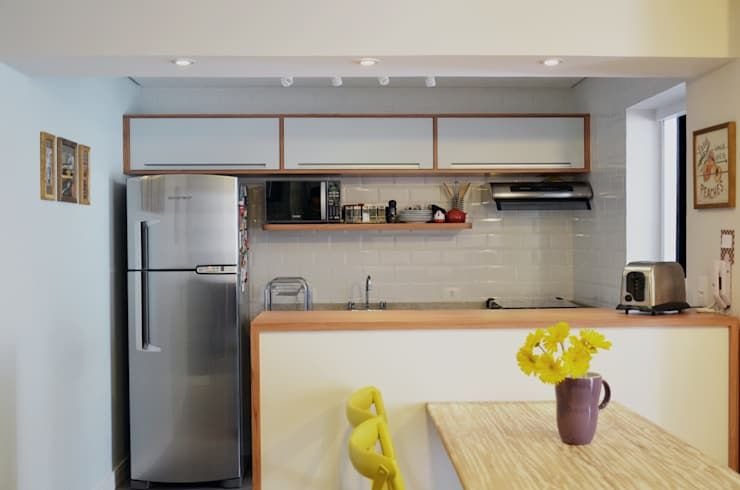
6. Rethink What Actually Belongs on the Counter
This is probably the most impactful habit shift on this list, and it costs exactly nothing.
Most people default to leaving things on the counter because that’s where they ended up. The toaster, the coffee maker, the paper towel holder, the fruit bowl, the random stack of mail, the utensil crock, the dish soap… it accumulates without any real decision being made.
The question worth asking is: what do I actually use every single day?
For me, the answer was the coffee maker and one utensil crock. That’s it. Everything else — the toaster, the blender, the air fryer — gets stored in a cabinet and comes out only when I need it. Yes, it means pulling things out more often. But it also means I have a clear counter 95% of the time, which makes cooking feel completely different.
A few things that might seem like “daily use” but probably aren’t:
- The toaster (most people use it a few times a week at most)
- The fruit bowl (the fruit can live in the fridge or in one cabinet)
- Paper towels (a mounted holder under a cabinet frees up counter space immediately)
If you’ve ever felt like your kitchen tools are working against you, the article on 6 tiny kitchen living storage mistakes that waste valuable space does a great job of showing exactly what common habits are quietly eating your counter space.
7. Use Drawer Dividers to Prevent the “Junk Drawer” Problem
Here’s a very specific scenario: you have one kitchen drawer that slowly becomes impossible. Everything goes in it. Nothing comes out organized. You need a spatula and you have to excavate through rubber bands, takeout menus, a mystery cable, and three dried-up pens to find it.
Drawer dividers solve this — not by magic, but by forcing you to make a decision about where each category of thing lives. Once a spatula has a dedicated spot, it goes back there. Once measuring spoons have a slot, they’re not floating around.
What I’d suggest for a typical tiny kitchen drawer setup:
- Utensil drawer: Bamboo drawer organizer with compartments for large, medium, and small utensils. Keep only what you actually cook with.
- Junk prevention drawer: One small drawer with a few specific categories — scissors, batteries, a notepad. Not everything. Just the things that genuinely belong in a kitchen.
- Measuring and prep tools drawer: Measuring cups, spoons, peeler, grater. These live together because they’re used together.
The bamboo adjustable drawer organizers on Amazon work well for this — they’re around $15-20 and you can reconfigure them if your needs change.
The real trick: When a drawer starts getting messy, that’s a sign something doesn’t have a home. Instead of just reorganizing the chaos, figure out where that homeless item should actually live — and put it there.
One Quick Common Mistake Worth Mentioning
I see this a lot: people go on a big organizing spree, buy a bunch of storage products, and then realize they’ve just moved the clutter into bins. The items are now in baskets. The baskets are still everywhere. Nothing is actually cleaner.
The fix is to declutter before you organize. Go through your kitchen and pull out anything you haven’t used in six months. Duplicates, gadgets that felt exciting in the store, that pasta maker you used once. Get rid of those first. Then organize what’s left.
Storage hacks work best when there’s less stuff fighting for space.
What Actually Changed When I Applied All of This
When I look at my kitchen now versus when I moved in, the biggest difference isn’t aesthetic — it’s functional. I can cook a full meal without shuffling things around to find prep space. I know where everything is. Cleaning up is faster because surfaces are clear to begin with.
None of these hacks required a renovation. A few of them were free. The most expensive thing I bought was probably the floating shelves, and those cost about $40 total.
If you’re working with a small kitchen right now and it feels like no amount of organization helps, start with one thing. Pick the hack that matches your most annoying daily frustration and do just that one. The momentum builds from there.
Also worth reading: If you want to dig deeper into building habits that actually keep a small kitchen running smoothly, check out 10 easy tiny kitchen living organization habits that changed my routine — it pairs really well with everything covered here and gets into the day-to-day rhythms that make the difference long term.