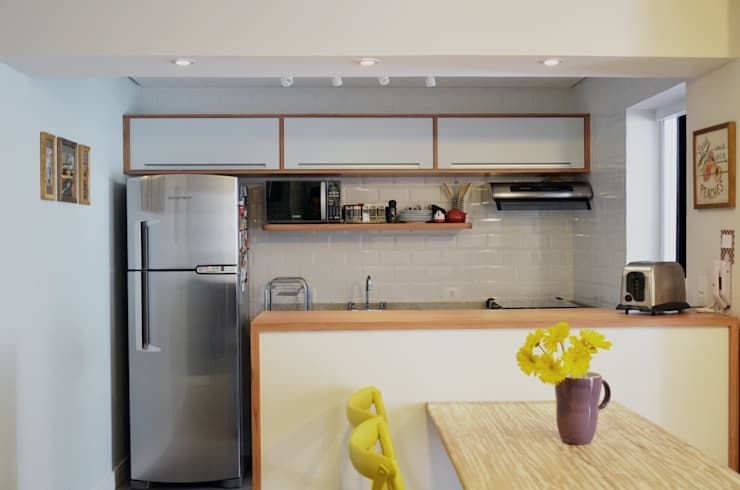
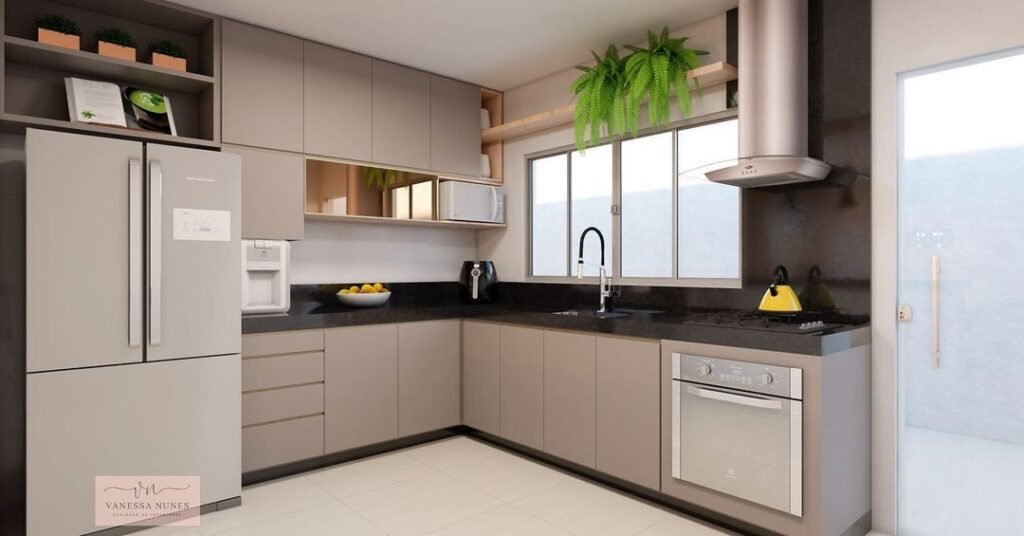
I still remember the first week in my studio apartment when I opened a cabinet to grab a pan and an avalanche of lids, a colander, and a rogue spatula came crashing down on me. The kitchen was maybe 60 square feet. There was one drawer. One. And I was supposed to cook actual meals in there.
If you’ve ever lived in a tiny apartment, you know that feeling. The kitchen isn’t just small — it feels like it’s actively working against you. But here’s the thing: after years of trial, error, and way too many trips to IKEA, I figured out what actually works. Not the Pinterest-perfect stuff that looks good but fails in real life — the real, practical solutions that made my tiny kitchen feel almost… generous.
Let’s get into it.
1. Use the Inside of Cabinet Doors — Seriously, Stop Ignoring This Space
This was the first thing that changed my life in a small kitchen. Those flat cabinet door surfaces? Completely wasted if you’re not using them.
I stuck a few adhesive hooks and a slim over-door organizer on my cabinet doors and suddenly had a home for measuring cups, pot lids, and cleaning supplies. No drilling required for most of these — the 3M Command strip versions hold surprisingly well.
What to put there:
- Pot and pan lids (use a tension rod or lid organizer)
- Measuring spoons and cups
- Foil, cling wrap, and parchment paper rolls
- Small cleaning bottles
Mistake I made: I bought a heavy metal over-door rack and it kept sliding. Stick to lightweight plastic or wire options with rubber grips on the top edge. Game changer.
2. Go Vertical — Your Walls Are Basically Unused Storage Real Estate
Most tiny kitchen owners are so focused on counter and cabinet space that they completely forget about the walls. In a small kitchen, vertical space is your best friend.
A simple pegboard on one wall can hold:
- Pots and pans (hung on S-hooks)
- Utensils
- Small baskets for spices or snacks
- Even a small shelf for a cookbook or tablet
I installed a SKÅDIS pegboard from IKEA (about $20) and it transformed the dead wall space next to my stove into a full storage system. If you’re a renter and can’t drill, there are freestanding pegboard frames or magnetic knife strips that stick with heavy-duty adhesive.
Also worth checking out: 9 Secret Tiny Kitchen Living Storage Ideas Using Wall Space — it goes deep on wall-specific tricks I didn’t even think of until later.
3. Magnetic Spice Jars on the Fridge — Clears an Entire Shelf
My spice situation used to be chaos. A jumble of bottles stuffed in a drawer, half of which I couldn’t even see. Then I switched to magnetic spice jars mounted on the side of my fridge and it was like getting an entire cabinet shelf back.
The ones I recommend are small round tins with clear lids — you can see what’s inside at a glance. A set of 20-30 fits easily on a standard fridge side and keeps everything within reach while cooking.
Pro tip: Label the tops, not the sides. When they’re mounted vertically on the fridge, you read from the side anyway — but if you ever need to store them flat temporarily, top labels save you.
Cost breakdown:
| Item | Approx. Cost |
|---|---|
| 24-pack magnetic spice tins | $18–$25 |
| Label maker (optional) | $15–$30 |
| Freed shelf space | Priceless |
4. Stackable, Nesting Containers Are Worth Every Penny
Random Tupperware that doesn’t stack is the enemy of small kitchens. I had a cabinet that was basically just a pile of plastic chaos — containers, lids, random sizes that didn’t match anything.
Switching to a single matching set of nesting containers (I went with OXO Good Grips and later added some Rubbermaid Brilliance ones) cut the storage space needed in half. They nest inside each other, lids snap together, and everything is actually findable.
The same logic applies to pots and pans. If your cookware doesn’t nest, it’s wasting serious space. A 3-piece nesting pot set takes up the same room as one large pot.
5. A Rolling Cart Is the Secret Weapon No One Talks About Enough
I resisted buying a rolling kitchen cart for almost a year because I thought it would just feel cramped. I was completely wrong.
A slim rolling cart (the kind that fits between the fridge and the wall, sometimes called a “pull-out pantry”) gave me:
- 4–5 extra shelves of storage
- A movable prep surface when I needed extra counter space
- A place to stash items I didn’t want permanently on the counter
The key is getting a slim one — look for 4–6 inches wide. These slide into gaps you’d otherwise never use. Some even have wheels with locks so they stay put during cooking.
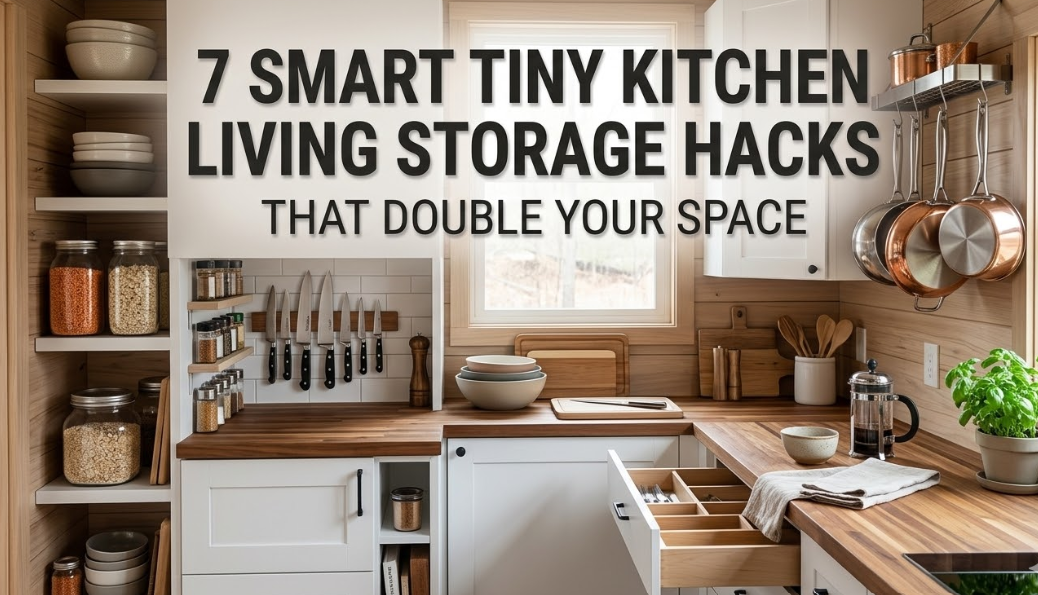
If you want more ideas like this, 7 Smart Tiny Kitchen Living Storage Hacks That Double Your Space is worth a read — lots of overlap with what actually works in practice.
6. Tension Rods: The $3 Storage Upgrade That Works Everywhere
I cannot overstate how many problems a simple tension rod solves. They’re cheap, require zero installation, and are completely renter-friendly.
Here’s where I use them:
- Under the sink: Run one horizontally to hang spray bottles — frees up the floor of the cabinet
- Inside deep drawers: Stand baking sheets, cutting boards, and trays upright between tension rods
- Inside cabinets: Create an extra “shelf” for stacking lightweight items like plates or pan lids
- On cabinet doors: Hold foil and wrap boxes in place
A multi-pack of adjustable tension rods costs around $8–$12 on Amazon. Honestly one of the best ROI purchases for a small kitchen.
7. Think in Zones — Not Just “Where Does This Fit?”
This one’s more of a mindset shift than a product, but it made a bigger difference than any organizer I bought.
Instead of storing things wherever they fit, I started thinking in cooking zones:
Coffee/Breakfast zone: Kettle, mugs, coffee, oats — all in one corner
Prep zone: Cutting board, knives, frequently used utensils — near the counter
Cooking zone: Pots, pans, oils, spices — near the stove
Cleaning zone: Dish soap, sponge, drying rack — near the sink
When everything lives near where you use it, you stop making five trips across the kitchen for one meal. In a tiny kitchen, that also means less clutter spreading across counters.
Here’s a simple zone layout you can adapt:
| Zone | Items | Ideal Location |
|---|---|---|
| Breakfast | Coffee, mugs, cereals | Near kettle/counter corner |
| Prep | Board, knives, bowls | Main counter |
| Cooking | Pots, spices, oils | Beside or near stove |
| Baking | Flour, measuring tools | Cabinet nearest stove |
| Cleaning | Soap, sponges, towels | Under sink or beside it |
8. Under-Shelf Baskets Double Your Shelf Count for Free
This one sounds almost too simple but it seriously works. Under-shelf baskets clip onto the bottom of existing shelves and create a second hanging layer of storage beneath them.
I use them in my upper cabinets to hold:
- Snack bags
- Tea packets and coffee pods
- Dish towels
- Plastic bags
You can also use them in the pantry section to hold produce like onions or garlic that you don’t want sitting on the counter. A pack of two usually costs under $15 and requires zero installation.
One warning: Don’t overload them. They’re great for lightweight stuff. Heavy cans or jars will make them sag or fall.
9. Ditch the Dish Rack — Go Over-the-Sink Instead
A regular dish drying rack sitting on the counter was eating up about 18 inches of my very limited counter space. I switched to an over-the-sink drying rack and immediately got that space back.
These sit across the sink basin (or the side of the sink) and let dishes drip directly into the drain. No tray, no drips on the counter, and no counter space lost.
What to look for:
- Adjustable width to fit different sink sizes
- Built-in utensil holder
- Non-rust material (stainless steel or coated wire)
It took me an embarrassingly long time to discover this. If you’re still using a countertop rack, try this swap — it’s one of those changes you wonder how you lived without.
This kind of rethinking everyday tools is exactly what 6 Essential Tiny Kitchen Living Cooking Tools Every Small Kitchen Needs covers really well — worth bookmarking.
10. The Fridge Top Is a Shelf — Start Using It
Most people either leave the top of their fridge empty or pile random stuff up there that they never touch. But with a little intention, the fridge top becomes genuinely useful storage.
What works well up there:
- A basket or bin for bread, fruit, or onions
- Small appliances you don’t use daily (like a hand mixer or waffle iron)
- Extra paper towels or napkins
- Cookbooks or binders you reference occasionally
The key is using a bin or tray to keep things contained. A flat tray turns the fridge top into a proper “shelf” that stays tidy and easy to access. Avoid stacking things directly on top of each other — it just becomes a pile you never touch.
If your fridge is too low to reach comfortably, a small step stool stored beside the fridge solves that in two seconds.
Common Storage Mistakes That Make Tiny Kitchens Worse
Even with the best intentions, it’s easy to accidentally make things worse. Here’s what I’ve seen go wrong (including things I did myself):
Buying too many organizers at once. I once ordered $80 worth of bins before actually measuring my shelves. Half didn’t fit. Measure everything — cabinets, drawers, the gap beside your fridge — before you buy anything.
Storing things you never use. A tiny kitchen can’t afford charity storage. If you haven’t used that pasta maker in six months, it goes. Be ruthless.
Prioritizing looks over function. Open shelving looks great on Instagram. In real life, it collects grease and dust constantly, and things fall off. In a tiny kitchen, closed storage almost always wins.
Ignoring vertical space. The space between the tops of your items and the next shelf above? That’s wasted. Add a second layer using risers, under-shelf baskets, or stacking units.
What Actually Matters in a Small Kitchen
After years of tweaking, rearranging, and occasionally losing my mind over cabinet tetris, here’s what I know for sure: the best tiny kitchen storage isn’t about buying the most stuff — it’s about using every inch on purpose.
Start with one area. Pick the most frustrating spot in your kitchen right now (for me it was always the pot lid situation) and solve just that. Then move to the next. Small wins stack up fast, and before long your tiny kitchen starts to feel like it actually works for you instead of against you.
The goal isn’t a magazine-perfect kitchen. It’s one where you can actually cook without a battle.
Want to take it further? Check out 11 Easy Tiny Kitchen Living Storage Tricks I Wish I Knew Earlier — it covers some clever ideas that didn’t make this list but are absolutely worth knowing about.