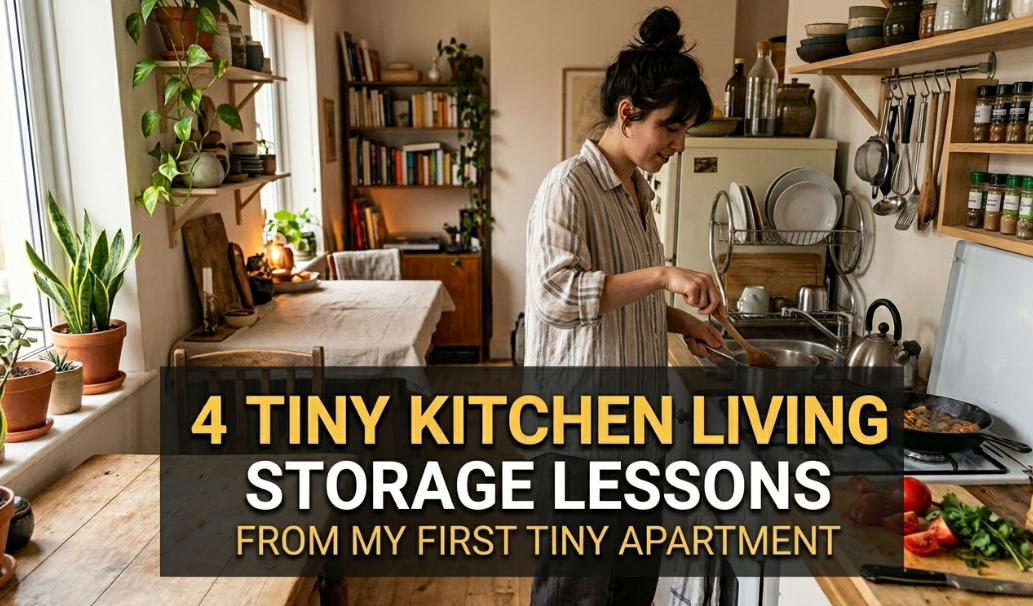
I still remember standing in my first studio apartment kitchen, holding a colander in one hand and a stack of mismatched lids in the other, wondering where on earth I was supposed to put any of it. The kitchen was maybe 40 square feet — two burners, a mini fridge, and a single cabinet that somehow had to hold everything I owned that wasn’t clothing.
That was three apartments ago. And in that time, I’ve made every storage mistake in the book, stumbled onto some genuinely brilliant solutions, and eventually turned even the most ridiculous little kitchens into spaces that actually work.
If you’re currently living that tiny kitchen life, these eight storage solutions aren’t theoretical Pinterest fantasies. They’re things I’ve actually used — some bought, some DIY’d, some figured out at 11pm while making pasta.
1. Magnetic Knife Strips: Free Up a Whole Drawer Overnight
The knife block was the first thing I got rid of. It took up nearly a quarter of my only counter space and held five knives I used regularly plus three I never touched.
A magnetic knife strip mounted on the wall changed everything. I put mine on the side of an upper cabinet (not even on the backsplash — I didn’t have room there either), and suddenly I had an entire drawer back.
You can get a solid stainless one for under $20 on Amazon. Just make sure you mount it into a stud or use proper wall anchors — I learned that the hard way when mine slowly pulled out of drywall over about two weeks before dramatically crashing at 7am.
What also works on these strips: metal spice tins, kitchen scissors, a vegetable peeler if it has any metal content. Basically anything you’d normally dig through a drawer for.
2. Over-the-Door Organizers (Not Just for Pantries)
Most people think over-the-door organizers are for pantry doors. And yes, they’re great there. But if you don’t have a pantry — and in a tiny kitchen, you often don’t — look at every door you do have.
Inside cabinet doors are absolute gold. A simple tension-rod or adhesive organizer on the inside of the cabinet under the sink holds cleaning sprays, dish soap refills, sponges, and those random little packets of dishwasher rinse aid that otherwise just… float around.
I used clear acrylic adhesive pockets (meant for office files, honestly) on the inside of my upper cabinet doors for spice packets, recipe cards, and twist ties. Cost me less than $8 for a pack of 10.
The inside of the cabinet under the sink went from being a damp, chaotic abyss to an organized little cleaning station. Huge quality of life upgrade.
3. Stackable Clear Bins with Labels — The System That Finally Stuck
I went through a phase where I bought all sorts of cute storage containers that looked amazing on Instagram and were completely useless in practice. Wicker baskets that things fell out of. Fabric bins that collapsed when I pulled something from the middle. Decorative tins I couldn’t see into.
Then I switched to simple, stackable clear plastic bins — nothing fancy, the kind you find at IKEA or even dollar stores — and labeled the fronts with a label maker.
The visual clarity alone is worth it. When you can see exactly what’s in a bin and where it is, you stop buying duplicates of things you already have (I had four bottles of soy sauce at one point because I kept forgetting I had soy sauce).
If you want some inspiration on building an actual system around this, 10 Easy Tiny Kitchen Living Organization Habits That Changed My Routine has some really practical day-to-day habits that make the bins actually stay organized rather than becoming chaos boxes two weeks later.
Quick tip: Group bins by category, not by item. One bin for “baking,” one for “snacks,” one for “pasta & grains.” This way, even when the contents shift, the system holds.
4. Tension Rods: The Most Underrated $3 Kitchen Tool
I genuinely cannot believe how useful these are and how few people use them in kitchens.
Here’s what I’ve done with them:
- Under the sink: Two horizontal tension rods across the cabinet create a second “shelf” for storing spray bottles upright (hang them by their triggers). Keeps the bottles off the floor of the cabinet and doubles usable height.
- Inside deep drawers: A vertical tension rod divides the drawer into sections so cutting boards and baking sheets stand upright instead of flat-stacking and becoming a nightmare avalanche every time you grab one.
- Inside cabinets: Use two rods horizontally to create a divider shelf for pot lids — suddenly you have a lid rack that costs $3 and takes 90 seconds to install.
I keep a multipack of tension rods in different sizes at all times now. They’re one of those things where once you see the possibilities, you start seeing storage problems differently.
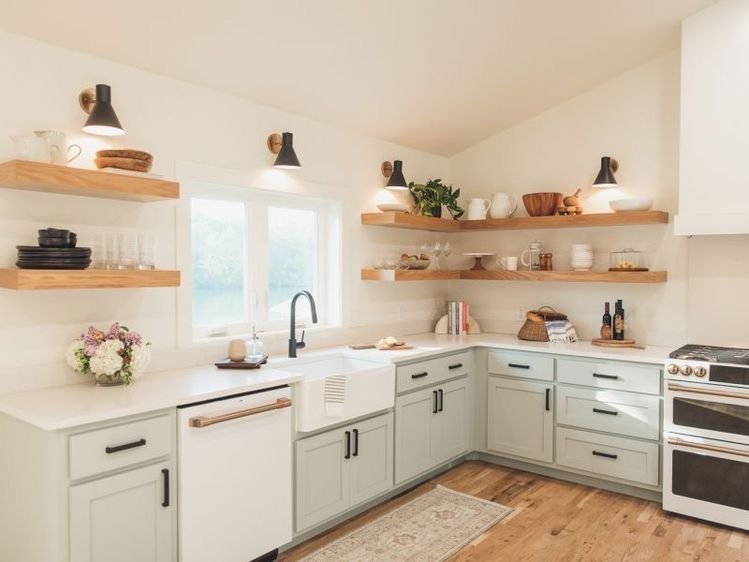
5. Pegboards: Customizable Wall Storage That Grows With You
This is the one I was most skeptical about and am now most evangelical about.
A pegboard mounted on one wall — even a small 2×3 foot section — completely transforms how much you can store without touching any shelf or counter space. Hooks, shelves, bins, spice racks, paper towel holders — they all click into the same holes and can be moved whenever you want.
My pegboard currently holds:
- A paper towel roll
- Three small baskets (one for garlic and onions, one for small tools, one for things I’m still figuring out where to go)
- S-hooks with spatulas, ladles, and a whisk
- A small shelf with oil and vinegar bottles
The whole thing took about an hour to install and cost around $40 for the board, hardware, and hooks combined.
What makes it so useful for tiny kitchens specifically is that it’s endlessly reconfigurable. Moved to a new apartment with a different layout? Rearrange the hooks. Got a new appliance that needs a home? Add a shelf. It adapts to you.
6. Nesting & Stacking Everything You Possibly Can
This sounds obvious but genuinely isn’t until someone points it out: the goal isn’t just to store more, it’s to store things in less space.
Nesting bowls instead of stacking flat. Stackable measuring cups on a ring rather than loose. Pots that stack inside each other with a rack to separate lids. Even food containers — switching to a set of rectangular stackable containers rather than a random collection of differently-shaped tubs freed up an embarrassing amount of cabinet space.
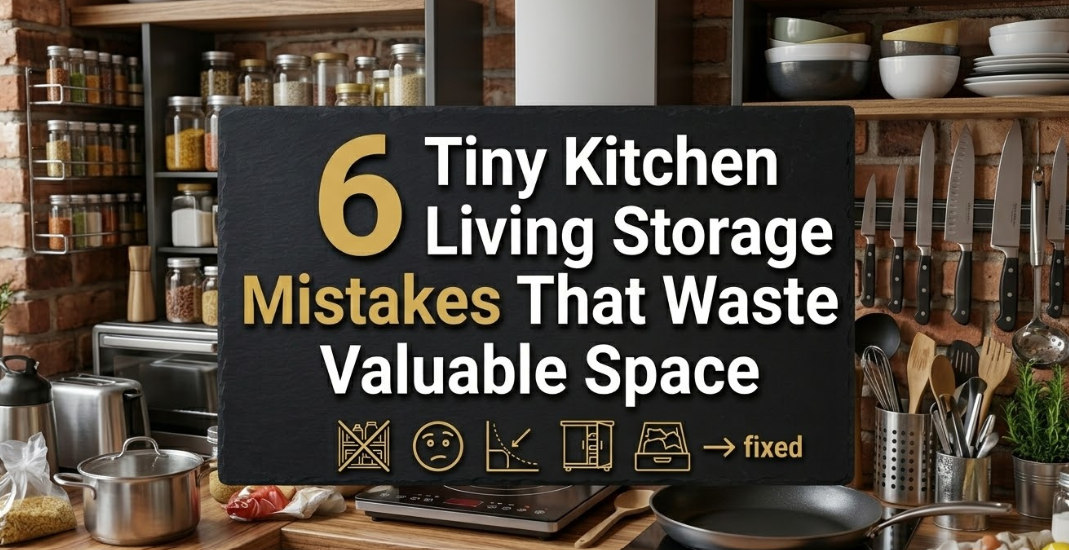
The random-container situation is one of the 4 Tiny Kitchen Living Cooking Mistakes I Made in My First Apartment that cost me months of unnecessary chaos. I kept accumulating containers from takeout, old yogurt tubs, random gift sets — and they all took different amounts of space and none of them stacked on each other.
The fix: Pick one set of stackable rectangular food containers in 2-3 sizes. Donate or recycle everything else. The cabinet space you reclaim is shocking.
7. Vertical Space: Stop Ignoring What’s Above Your Head
Most people in tiny kitchens use the space at counter level and inside cabinets. Almost nobody fully uses the vertical space between the top of the cabinets and the ceiling — or the wall space between appliances.
Here’s a breakdown of vertical storage opportunities most people miss:
| Location | What to Store | How |
|---|---|---|
| Top of cabinets | Rarely used items, bulk storage | Labeled bins or baskets |
| Wall above backsplash | Spices, small tools | Floating shelves or rail systems |
| Space between fridge & wall | Cutting boards, baking sheets | Slim pull-out cabinet/rack |
| Ceiling hooks (if permitted) | Pots, pans, hanging baskets | S-hooks on ceiling-mounted rod |
| Inside cabinet doors | Foil/cling wrap, spice packets | Adhesive door organizers |
The space between my fridge and the wall — about four inches — now holds a slim rolling cart that fits a full set of cutting boards, baking sheets, and my rarely used wire cooling rack. I didn’t even know products like that existed until I went searching specifically for “4-inch gap storage.”
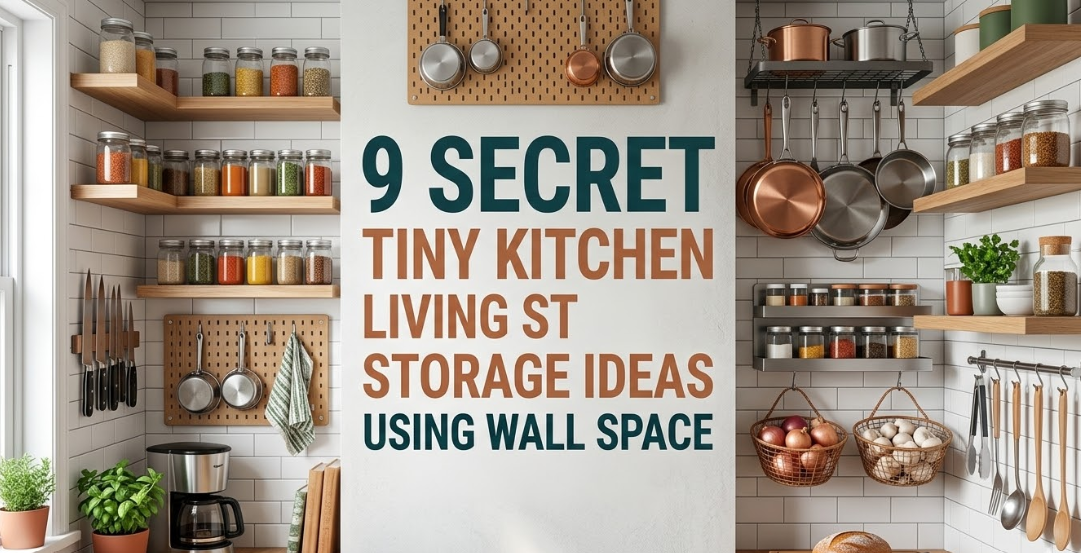
For more ideas specifically around wall space, 9 Secret Tiny Kitchen Living Storage Ideas Using Wall Space covers some creative approaches I hadn’t even thought of.
8. The One-In-One-Out Rule (It’s Not Just a Minimalism Thing)
This last one isn’t a physical product. It’s a habit. And honestly? It’s the one that makes everything else actually work long-term.
Every time something new comes into the kitchen — a new mug, a gadget, a jar of something — something else has to leave or get used up first.
Without this rule, storage solutions are just delay tactics. You reorganize, you buy the bins, you mount the pegboard — and then six months later it’s all stuffed again because the underlying accumulation never stopped.
I keep a small basket on the counter specifically as a “rehome or donate” holding zone. When something lands there and stays for two weeks without being used, it goes. No guilt, just gone.
This is also what separates people who have tidy tiny kitchens from people who perpetually feel like they’re fighting their kitchen. The storage is part of it. The habit is the other part.
Mistakes I Made That You Don’t Have To
Before I wrap this up, a few quick lessons from my own trial-and-error phase:
- Buying storage before decluttering. I spent $60 on organizers once, installed them, and realized I was just neatly storing things I didn’t actually use. Declutter first. Always.
- Prioritizing aesthetics over function. Pretty wicker baskets. Beautiful ceramic containers. Completely impractical for how I actually cook. Function first, pretty second.
- Ignoring the inside of cabinet doors for too long. Probably a year of wasted space there.
- Buying single-purpose gadgets. Avocado slicers, strawberry hullers, egg separators — all took space, all barely used. Multi-use tools only in a tiny kitchen.
- Not measuring before buying. A drawer organizer that’s half an inch too wide is completely useless. Measure everything. Then measure again.
A Few Products Worth Mentioning
If you’re looking for specific things to start with, here’s what’s actually lived in my kitchen and survived:
- IKEA RÅSKOG cart — fits in tiny spaces, rolls around, holds a ton
- OXO Good Grips drawer organizers — modular, actually stay in place
- Command strips large hooks — for things that don’t need a full mounted solution
- Yamazaki magnetic spice rack — looks clean, holds small tins well
- Basic pegboard from a hardware store — any brand works, go for 1/4″ hole spacing
None of these are sponsored, I just actually own them.
The honest truth about tiny kitchen storage is that it’s less about finding the magic product and more about being intentional with every inch. The solutions above work because they treat space like a resource — not infinite, not to be wasted, but genuinely valuable.
Once you start seeing your kitchen that way, you’ll notice solutions everywhere. That weird corner cabinet starts looking like an opportunity. That blank wall near the stove becomes potential. And slowly, the kitchen that felt impossible starts feeling — dare I say it — kind of great.
Also worth reading: 11 Tiny Kitchen Living Storage Tricks I Wish I Knew Earlier — a companion piece with even more storage ideas, including a few that work specifically for rental kitchens where you can’t drill into walls.