Meta Description: How My First Tiny Apartment Taught Me 4 Critical Storage Lessons for Living in a Tiny Kitchen I Love — clever and easy, people-oriented hacks that are cheap and available to you now
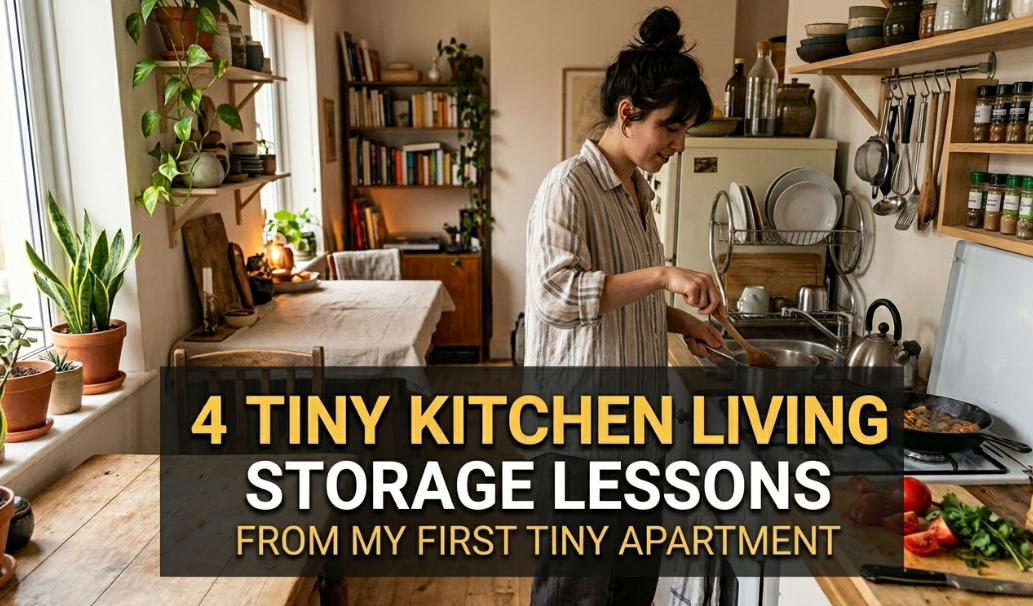
4 Tiny Kitchen Living Storage Lessons from My First Tiny Apartment
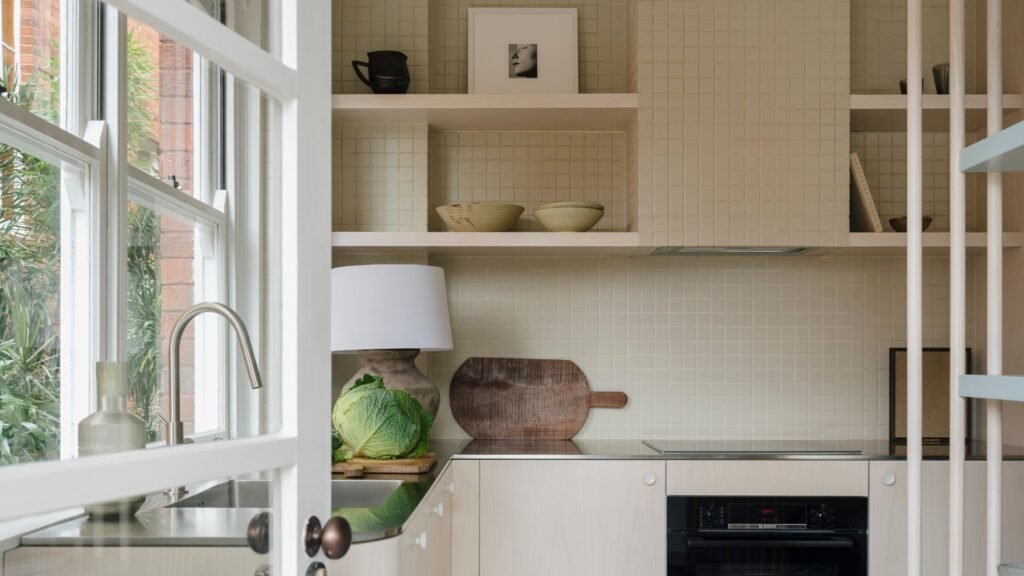
Moving into my first tiny apartment was exciting — until I opened the kitchen cabinets.
There were two of them. Two. One small drawer. A patch of counter space approximately the size of a cutting board. And somehow I needed to cook real meals in there.
No, I’m not exaggerating when I say that my blender lived on the bathroom floor for the first week.
But over time, something clicked. I put up less of a fight against the small space and I started to work with it. I experimented, stumbled a few times and gradually amassed a working — even attractive — kitchen.
These four storage tips are game changers for me. This is for you whether you live in a studio apartment, a tiny house or simply have a kitchen that feels heroically small. If you’re looking for even more ideas, Tiny Kitchen Living is a great resource packed with practical tips for making the most of compact kitchen spaces.
Lesson 1 — Your Walls Are an Untapped Goldmine for Storage
When I moved in, I looked at all my empty walls and was like, “I can’t do a thing here.”
I was so wrong.
Others with tiny kitchens think only horizontally. They look at the counter. They glance at the cabinet shelves. But they completely overlook the vertical space — the walls — which is most often the most underutilized storage real estate in any small kitchen.
The Magnetic Strip That Cleared My Drawer
My one kitchen drawer was filled with knives, spatulas, peelers and random utensils. I could hardly open it without something jamming.
Then I put up a magnetic knife strip on the wall near the stove. It cost under $15.
Suddenly, five knives floated off the counter and out of the cluttered drawer. The drawer breathed again. The knives were even easier to grab when I was cooking.
And they’re not just for knives either. Small magnetic containers can hold spice packets, clips or even your phone while you’re following a recipe.
Pegboards: Old School, Still Brilliant
Pegboards have existed forever, and there’s a reason they continue to crop up in tiny kitchen makeovers. They work.
A pegboard on one wall can accommodate:
- Pots and pans
- Cutting boards
- Measuring cups
- Colanders
- Ladles and spatulas
- Small baskets for snacks or produce
I spray-painted mine white to match the walls so it didn’t feel like a garage workshop. It blended in and contained more than half of what had previously camped out in my cabinets.
Floating Shelves for Everyday Items
Open floating shelves are ideal for items you use every single day — mugs, plates, glasses, cooking oils, spice jars.
The key is to keep them tidy. A messy floating shelf is worse than no shelf at all. Store jars of the same type together, make piles of plates that nestle neatly into each other and assign one category to a shelf.
| Storage Option | Best For | Approx. Cost |
|---|---|---|
| Magnetic knife strip | Knives, metal utensils | $10–$25 |
| Pegboard | Pots, pans, tools | $20–$60 |
| Floating shelves | Dishes, mugs, spices | $15–$50 per shelf |
| Over-door organizer | Wraps, bags, small items | $10–$30 |
| Wall-mounted hooks | Aprons, oven mitts | $5–$15 |
Lesson 2 — Everything Has a Job (And Only One)
This was the most difficult lesson for me to learn.
I had in my little kitchen things that served no real use. A fancy bowl that simply became a dust catcher. A second dish set “just in case.” Three spatulas, when I only used one.
In a small kitchen, everything has to pull its weight.
The “Touch It Once” Rule
Here’s the rule I set for myself: if I hadn’t used something in 30 days, it had to go out of the kitchen.
This may sound harsh, but it is practical. In small kitchens, there is no room for dead weight. That fancy spiralizer I used once? Gone. The pasta maker still in its box? Donated. The five coffee mugs from previous jobs and bygone events? Down to two.
But once you pare your kitchen down to just what you really use, something miraculous happens — everything is available at a moment’s notice and everything fits.
Multi-Purpose Items Are Non-Negotiable
Once you remove the extraneous, you need to be deliberate about what remains.
When living in a small space, multi-purpose kitchen items are your best friends. Instead of having five single-purpose tools, have one thing that does five things.
A few swaps that worked extremely well for me:
- Cast iron skillet → takes the place of a frying pan, a baking dish, and sometimes even a grill pan
- Instant Pot or multi-cooker → replacement for a slow cooker, rice cooker, pressure cooker and steamer
- A good chef’s knife → replaces most specialty knives
- Nesting bowls with lids → double as mixing, food storage and serving dishes
Stack, Nest, and Store Smart
Once you’ve trimmed the excess and retained only what serves multiple purposes, ensure that what you own can coexist efficiently.
Seek out cookware that nests within one another. Seek containers with lids that snap on the side. Seek colanders that fit inside your largest pot.
Not much else saves more space than stacking. A pot within a pot within a pot occupies the room of only one pot.
Lesson 3 — The Space You Don’t Recognize Is the Space You Need
In my small kitchen, I was ignoring at least four storage areas without even knowing it.
Finding them felt like stumbling across hidden rooms.
The Top of the Refrigerator
Most people leave the top of the fridge empty, or shove random junk up there and forget about it.
That flat surface is valuable. Use it intentionally.
Up there, I put a little wicker basket for bread and bananas — anything that didn’t need to be chilled but was taking up my minimal worktop space. I also stowed a rarely used blender up there (yes, the same one that started life in my bathroom).
Out of range each day, but not out of use.
Inside Cabinet Doors
Now open any cupboard door in your kitchen. Look at the inside of that door.
Empty, right?
That’s wasted space. Small adhesive hooks or mounted racks on the inside of cabinet doors can hold:
- Measuring spoons and cups
- Plastic bag rolls
- Aluminum foil and cling wrap
- Pot lids (they make lid organizers for this)
- Small spice jars
This single adjustment opened up a whole shelf inside my cabinet.
The Toe Kick Drawers (Really)
See that stripe of space at the bottom of your kitchen cabinets — between the base of the cabinet and the floor? It is referred to as the toe kick area.
In most kitchens, that space is just totally empty and wasted.
You can purchase or build shallow pull-out drawers that slide into that space. They’re ideal for flat objects like baking sheets, cutting boards, pizza pans and cooling racks.
It sounds like a renovation, but there are pre-made toe kick drawer systems available online that would not require major construction.
Under the Sink
The cupboard under the sink is a perennial disaster area — a tangle of cleaning products, garbage bags and mystery bottles.
But with a two-tier expandable shelf or a small set of stacking bins, it’s surprisingly organized. You can sort cleaning supplies from dish soap, store trash bags in one place and even add a tiny tension rod to hang spray bottles by their triggers.
According to The Spruce’s guide to small kitchen organization, using every inch of vertical and hidden space is one of the most effective strategies for making a compact kitchen truly functional.
| Ignored Zone | What to Store There | Storage Solution |
|---|---|---|
| Top of refrigerator | Bread, fruit, rarely-used appliances | Baskets, trays |
| Inside cabinet doors | Lids, wraps, spices, measuring tools | Adhesive racks, hooks |
| Toe kick area | Baking sheets, cutting boards | Pull-out toe kick drawers |
| Under the sink | Cleaning supplies, bags | Stacking bins, tension rods |
| Above cabinets | Decorative, seasonal items | Baskets, labeled boxes |
Lesson 4 — An Unmaintained System Is a Disaster Waiting to Happen
I learned this the hard way.
Three months or so after I had reached the happy state of order in my tiny kitchen — pegboards and hooks on its walls, tidy shelves, beautifully sorted cabinets — I let things slip for two weeks.
Two weeks of foregoing the “put it back properly” step. Two weeks of allowing things to land where they may.
It appeared as though I had never organized at all.
In a small kitchen, chaos multiplies quickly. Because it’s such a tiny space, even five things out of place looks like utter mayhem.
The Two-Minute Reset
The most impactful habit I cultivated was the two-minute kitchen reset.
Every evening before bed — or just after whipping something up — I took two full minutes to put things back where they belonged. Not deep cleaning. Not reorganizing. Just putting things back where they belong.
Two minutes. That’s it.
It kept the kitchen clean and working well day in, day out. And it calmed me down, something I didn’t expect and appreciated very much.
Labels Are Not Just for Pantries
I always thought labels were a little overkill for a home kitchen. That’s when I labeled everything and had a whole turnaround.
In a tiny kitchen, labels perform two functions:
- They ensure that you return things to their correct spot (especially when tired and hurried)
- They ensure whoever else is in your house — a partner, a roommate, a guest — also replaces things properly
I used a basic label maker for jars and bins. I added small tags to my pegboard hooks. I even used sticky notes to label cabinet shelves until the habits stuck.
One In, One Out
It sounds simple, but it’s this rule that keeps little kitchens from gradually spiraling back into chaos.
Each time a new thing comes into the kitchen — a new mug, a new gadget, a new food storage container — something else must go.
New set of four glasses? Four old ones go to donation. New silicone spatula? Old faithful straight into the bin.
This keeps the volume constant. And in a small kitchen, constant volume means consistent organization.
Seasonal Rotation for Kitchens
Most people think of seasonal storage for clothing and holiday decorations. But it also works beautifully in the kitchen.
Your waffle maker, your holiday cookie cutters, your huge roasting pan — you don’t use these every week. Keep them outside the kitchen during off-seasons. Use a labeled box in a closet, under the bed or in a storage unit.
It frees up valuable real estate in the kitchen for things you use daily, while still putting seasonal items within reach when they’re really needed.
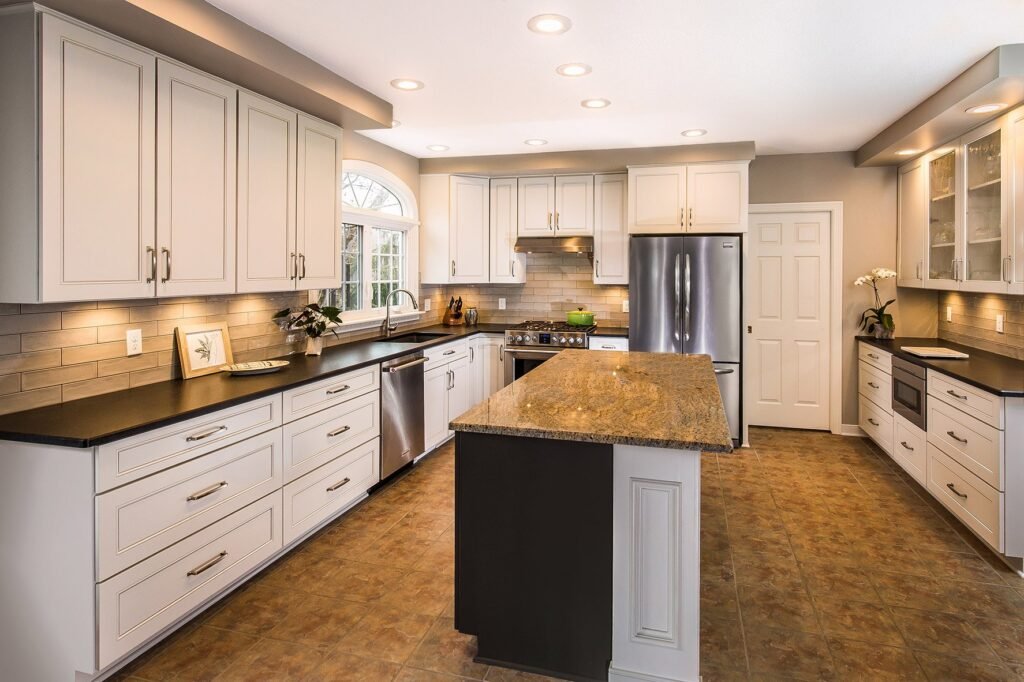
The Big Picture — How My Tiny Kitchen Looks Now
Having applied all four of these lessons, here is what my kitchen looked like after the first year in that apartment:
- Walls: Magnetic strip above stove, mounted with five knives. Pots and pans, a row of utensil hooks on a side wall pegboard. Two floating shelves with everyday dishes and mugs.
- Cabinets: Sorted by category, with inside-door racks on both cabinet doors. Each item has a space of its own, labeled.
- Counter: Nearly empty except for the coffee maker, a small knife block (until I moved everything to the magnetic strip) and a fruit bowl.
- Hidden zones: The top of the fridge to store bread. Updated and organized under-sink cabinet using stacking bins. Baking sheet toe kick drawer.
- System: Two-minute nightly reset. One-in-one-out rule. Seasonal rotation for rarely-used items.
It wasn’t a renovation. I didn’t tear down walls or purchase entirely new furniture. In total, all the storage solutions I used cost less than $200.
And the kitchen that once forced me to store my blender in the bathroom? It turned out to be my favorite room in the apartment.
Quick-Reference Summary
| Lesson | Core Idea | Key Action |
|---|---|---|
| Use your walls | Vertical space is free storage | Add magnetic strips, pegboards and shelves |
| Give everything a job | Cut clutter, keep multi-purpose tools | Apply the 30-day rule and swap to versatile tools |
| Find the ignored zones | Hidden storage is all around you | Use fridge top, door insides, toe kicks, under sink |
| Maintain your system | Organization needs daily upkeep | Do a two-minute reset and follow one-in-one-out |
FAQs About Tiny Kitchen Storage
How do I find storage space in a small kitchen without renovation?
Most of these ideas don’t require a contractor or a landlord’s approval. Magnetic strips, adhesive hooks, over-door organizers, pegboards and floating shelves can all be hung using minimal tools without permanently damaging a wall. Some even use Command strips that come off when you want them to.
What is the number one mistake people make in small kitchens?
Keeping too much stuff. Many of us cling to gadgets, multiples and “what if” devices that we never use. The most powerful change you can make — much more than any storage product — is to trim down to only what you actually cook with.
How do I keep a small kitchen feeling clean and uncluttered?
Minimize kitchen countertop clutter. Clear away everything that isn’t used every day from the counter. Store most items in closed storage (bins, baskets, cabinets), and only put out what is useful and visually consistent.
Do you really need to pay more for kitchen organizers?
Not always. Some of the best solutions — tension rods under the sink, adhesive hooks inside cabinets, simple baskets on top of the fridge — are inexpensive. Start with budget-friendly options first. Buy higher quality items only for things you will use long-term.
Do these storage lessons work in a rented apartment?
Very few of these are renter-unfriendly. Adhesive hooks use easily removable strips. Pegboards can be hung with very little hardware. Floating shelves can be mounted using small anchors that leave easy patches when you move out. Always check your lease for restrictions, but the majority of these solutions are entirely removable.
How much time does it take to completely organize a small kitchen?
A full initial organization — decluttering, purchasing storage solutions, installing them and labeling — generally takes one weekend. The continual maintenance (the two-minute reset, the one-in-one-out rule) doesn’t take hardly any time at all once the habits are in place.
What if I don’t have any wall space to work with?
The other lessons can still be focused on even if wall space is limited. Tap into wasted spaces (over the fridge, inside cabinet doors, under the sink), prune the clutter aggressively and rely on multi-purpose tools. Walls are part of the answer, but not the entire answer.
Small Kitchen, Big Lessons
My first tiny kitchen taught me more about organization than any big, well-appointed kitchen ever could have.
Constraints force creativity. Limited space demands intention.
Every choice counts when your space is so limited. What you retain, where you store it and how you maintain it — all of that becomes meaningful.
The four lessons here — using your walls, assigning everything a purpose, finding the ignored zones and keeping your system up — are not complicated. They don’t take money, a renovation or a design degree.
They simply need a different way of looking at your space.
Quit viewing your small kitchen as a challenge. Start seeing it as a puzzle.
And once you solve it? You may be surprised by how much a small space can store — and how good it can feel to cook there.