Meta Description: Tiny kitchen living layout ideas will change your small space into an efficient, stylish area. These 7 clever designs leverage every last square inch.
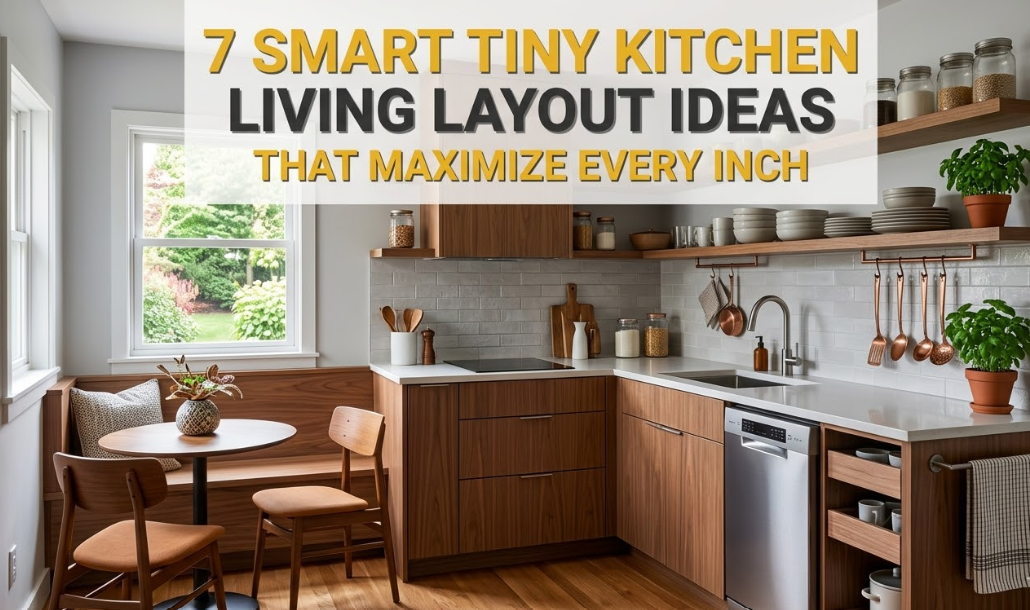
7 Smart Tiny Kitchen Living Layout Ideas That Maximize Every Last Inch
Does your kitchen feel like it’s closing in on you? You’re not alone. Millions of people live in apartments, tiny homes, or old houses where the kitchen is more closet than cooking space.
But here’s the good news: A tiny kitchen doesn’t have to feel tiny. With the right layout ideas, you can prepare food, store supplies, host friends, and just live in comfort — even in the tightest spaces.
Let this article guide you through 7 smart tiny kitchen living layout ideas that work. Whether you’re working with a studio apartment or a narrow galley kitchen, there’s something here for you.
Let’s dive in.
Why Your Kitchen Layout Is More Important Than Its Size
Most people blame the size of their kitchen for their problems. But the layout is almost always the real issue.
A badly designed large kitchen can be chaotic and ineffective. A thoughtfully designed tiny kitchen can balance openness, organization, and even luxury.
The trick is in what you do with every inch — the walls, the corners, the ceiling, and even what’s under your feet.
Before we dig into the ideas, here’s a handy comparison of different kitchen layouts in small spaces:
| Layout Type | Best For | Avg. Space Needed | Storage Potential |
|---|---|---|---|
| Galley | Narrow rooms | 8–12 ft long | High |
| L-Shaped | Corner spaces | 10×10 ft | Medium-High |
| One-Wall | Studio apartments | 8 ft wall | Medium |
| U-Shaped | Wider small kitchens | 12×12 ft | Very High |
| Island + One-Wall | Open floor plans | 11+ ft | High |
| Fold-Out | Micro apartments | Any | Low-Medium |
| Vertical Stack | Tiny homes | Any width | High |
Now let’s go through each layout idea in depth.
1. The Galley Kitchen Layout — Two Walls Doing Double Duty
The galley kitchen is one of the oldest tricks in the book — and today it still works like a charm.
Think of it like a ship’s kitchen. Everything is arranged on two parallel walls, facing each other. You walk through the middle, and everything you need is within arm’s reach.
The Secret Behind Why the Galley Layout Works So Well
The galley layout is functional because it adheres to the “kitchen work triangle.” That’s the route between your sink, stove, and refrigerator. In a galley, that triangle is tight and logical. You waste almost zero steps.
It also provides twice the amount of counter space as a one-wall kitchen. That translates to more space for chopping, prepping, and plating your meals.
How to Make It Even Better
- Place one wall for cooking (stove, oven, microwave) and the other for prep and storage (sink, fridge, cabinets).
- Use sliding doors in place of swinging ones to open up floor space.
- Use light colors on the walls and cabinets to create a sense of space in the corridor.
- Put in under-cabinet lighting to illuminate the workspace without adding clutter.
One crucial element: Maintain a minimum 36-inch aisle. For a two-cook kitchen, aim for 42 inches.
Storage Hacks for Galley Kitchens
Don’t stop at eye level. Take your cabinets all the way up to the ceiling. Reserve the top shelves for less-frequently-used items such as holiday dishes or bulk dry goods.
You could also hang a pegboard or magnetic knife strip on one wall. It opens up drawer space and keeps your tools out in the open and ready to use.
2. The L-Shaped Layout — A Corner That Works for You
Most people ignore their corners. In an L-shaped kitchen layout, the corner becomes your best friend.
This arrangement uses two walls that intersect at a 90-degree angle. It’s ideal for kitchens that flow into a living or dining space because it contains the cooking area while keeping the rest of the room clear.
The Huge Advantage of Going L-Shaped
The L-shape creates an open floor plan by default. You have a defined kitchen area without having walled yourself off. It’s perfect for small apartments where the kitchen, dining, and living area all meld into one another.
It also provides a natural place for a small breakfast bar or peninsula — which works as both a dining table and additional counter space.
Making the Corner Work Harder
The interior corner of an L-shaped kitchen is a traditional dead zone. But not anymore.
- Lazy Susans turn to pull items at the rear of the corner cabinet within reach.
- Magic corner pull-outs are drawer systems that come out of the cabinet and swing out in a clever L-shape on their own.
- Diagonal corner drawers are sleek and surprisingly functional.
Integrating Your Kitchen and Living Room
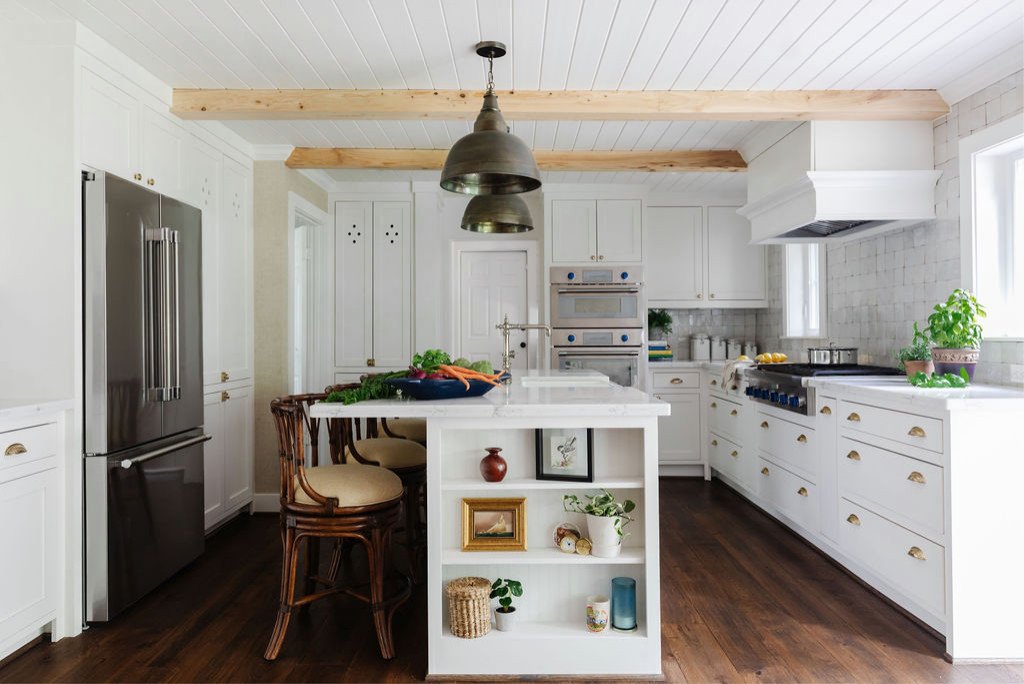
If your kitchen flows into your living area, use the L-shape to create a visual divide. A kitchen island or a bar counter along the open edge serves as a soft boundary. Add some bar stools, and you have a dining nook without needing a separate room.
3. The One-Wall Kitchen — Slim, Stylish, and Surprisingly Capable
As the name suggests, the one-wall kitchen does just that. The sink, the stove, the fridge, the cabinets — everything lives on a single wall.
It’s the most familiar layout in studio apartments and open-plan areas. And when done properly, it’s very efficient.
Who Might Benefit from a One-Wall Kitchen?
This layout is perfect if:
- You live by yourself or with only one other person
- Your kitchen is part of a larger open-plan space
- You want to keep the rest of the space wide open
- You prepare quick meals and don’t require much prep space
The One-Wall Kitchen’s Biggest Challenge
One-wall kitchens face a major issue: counter space. You’re working on one continuous strip, so you have to be strategic.
Here’s how to fight back:
- Consider a rolling cart or island that can be drawn out when you need more prep space and tucked away when not.
- Install a fold-down counter that attaches to the wall next to the kitchen strip. It lays flat when tucked away.
- Use a deep countertop — even an additional few inches of depth can help significantly.
Go Vertical With Storage
Because you have only a single wall, take advantage of every inch of vertical space on that wall.
Take the cabinets all the way to the ceiling. Place open shelves above the counter to store everyday necessities. Place a tall pantry cabinet at one end for dry goods, appliances, and cleaning supplies.
A floating shelf above the window can hold plants, spices, or small decorative objects that are also functional.
4. The U-Shaped Layout — Maximum Storage, Minimal Steps
If your small kitchen is more square than rectangular, the U-shaped layout may be your best option.
Three walls of cabinets and counters wrap around you like a hug. You get more storage and counter space than in almost any other layout — and you never have to walk more than a couple of steps to access anything.
Is a U-Shape Right for a Small Kitchen?
The only caveat: the U needs to be at least 8 feet wide between its two parallel sides — otherwise the space feels like a tunnel.
But if your kitchen is broad enough, the U-shape is incredibly powerful. You have three walls of upper cabinets, three walls of lower cabinets, and a long continuous counter wrapping the whole area.
Smart Tricks for the U-Shape
- One side should be a bit lighter — use open shelves rather than full upper cabinets on one wall to ensure the space doesn’t feel shut in.
- Add a window on the end wall if possible. Natural light transforms a U-shaped kitchen.
- Use the corners wisely — you’ve got two in a U-shape. Install pull-out corner systems or carousel shelves.
Convert the Opening Into a Dining Bar
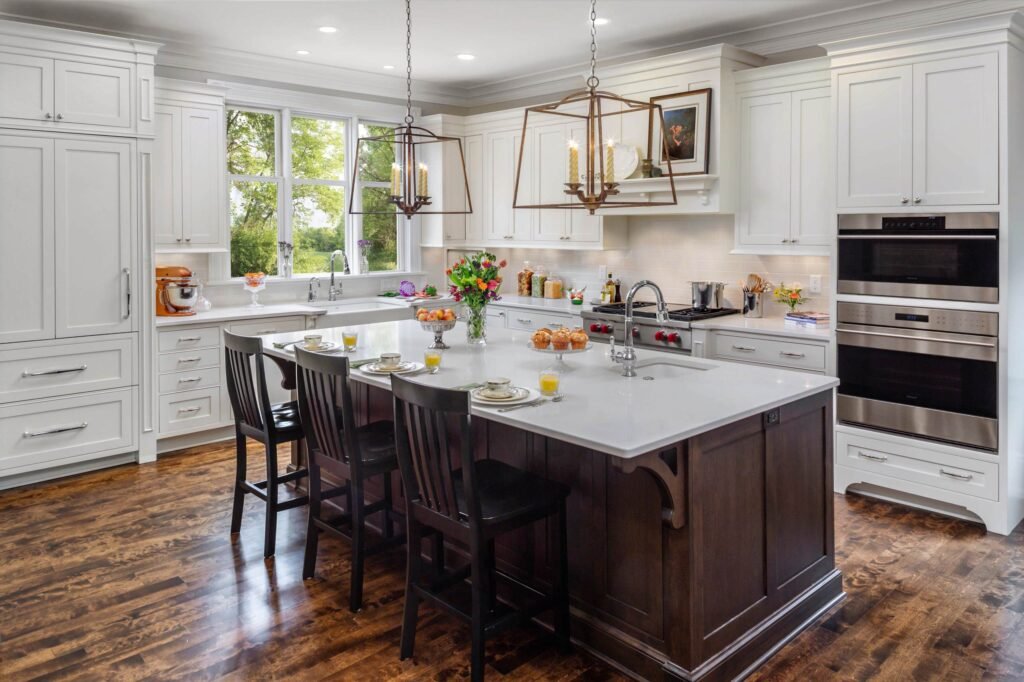
The open end of the U makes a natural place for a raised counter or breakfast bar. Add a couple of stools and you have a casual dining area that’s built right into the kitchen — without sacrificing any square footage in the living area.
5. The Open Shelf + Hidden Storage Combo — The Design Lover’s Secret
This is not a traditional layout type. It’s more of a design strategy that works with whichever of the layouts above you choose.
The logic is straightforward: display what looks good, hide what doesn’t.
Open shelves replace upper cabinets on one or two walls. They showcase your loveliest plates, glassware, plants, and cookbooks. Everything else — the bulky stuff, the mismatched containers, and cleaning supplies — lives in closed lower cabinets or a pantry.
Why This Makes a Small Kitchen Feel Bigger
Closed upper cabinets box in a small kitchen. Open shelving allows your eye to travel further into the space, creating a larger and more airy feel in the room.
They also make you stay organized. When it’s all visible, clutter has no place to hide.
How to Style Open Shelves Without Looking Messy
The key is editing. You do not need to display all your possessions.
- Only keep what you use every week on the open shelves.
- Group items together by color or material for a cleaner look.
- Put dry goods like pasta, rice, and coffee into matching containers.
- Consider adding a small plant or two to liven up the shelves.
Hidden Storage That Actually Hides Things
Mix some smart concealed storage in with your open shelves:
- Toe kick drawers — the area beneath your base cabinets can store flat items like baking sheets and cutting boards.
- Pull-out pantry columns — a tall, narrow cabinet that slides out like a drawer and holds dozens of items in a small space.
- Appliance garages — a small cabinet with a roll-up or flip-up door that conceals your toaster, coffee maker, and blender when they’re not in use.
6. The Fold-Out and Multi-Use Furniture Layout — For the Truly Tiny Space
Some kitchens are so tiny that even the standard layouts don’t apply. We’re talking micro-apartments, tiny homes on wheels, or converted vans.
In spaces like those, the kitchen must earn its place by performing multiple roles simultaneously.
The Fold-Out Kitchen Concept
A fold-out kitchen is built into the wall. When you need it, you fold out the counter, pull out the stovetop, and open the cabinet doors. When done, everything folds back flat.
It’s common in European micro-apartments and is gaining traction with the U.S. tiny home movement.
Furniture That Serves Multiple Uses and Pulls Its Weight
You can adapt the multi-use philosophy to the furniture surrounding your kitchen even if you have a permanent one:
- A rolling kitchen island — use it as a prep counter, dining table, or bar cart, then roll it out of the way.
- A fold-down wall table — hang it next to the kitchen for additional counter or dining space. It can go flat against the wall in seconds.
- A bench with integrated storage — if your kitchen leads into a small dining nook, use storage benches instead of chairs.
Appliance Choices Matter Here Too
You simply can’t afford full-size appliances in a fold-out or micro kitchen. Consider:
- A 2-burner induction cooktop rather than a 4-burner stove
- A combination microwave/convection oven rather than separate units
- A countertop or rolling dishwasher
- A refrigerator drawer rather than a full-size fridge
Every inch saved on appliances is an inch gained for living.
7. The Vertical Kitchen — When There’s No Floor Space Left, Build Up
When the floor is crowded, look to the sky.
The vertical kitchen focuses on maximizing wall height rather than floor footprint. It’s about stacking storage, using ceiling-mounted racks, and treating the wall as a functional surface from floor to ceiling.
Vertical Storage Solutions That Get the Job Done
Here’s a guide on how to utilize each zone of your wall:
| Wall Zone | Height Range | Best Use |
|---|---|---|
| Floor Zone | 0–18 inches | Base cabinets, toe kick drawers |
| Work Zone | 18–48 inches | Counter, sink, stove |
| Eye-Level Zone | 48–72 inches | Open shelves, frequently used items |
| Upper Zone | 72–90 inches | Closed cabinets, less-used items |
| Ceiling Zone | 90+ inches | Pot racks, bulk storage, decorative items |
Ceiling-Mounted Pot Racks
An overhead pot rack above the stove or island frees up an entire cabinet. Pots and pans are heavy and occupy a lot of space. Getting them off the shelves and onto the ceiling rack is one of the single best moves in a tiny kitchen.
Herbs, utensils, and even colanders can also be hung from ceiling hooks.
Ladder Access and Tall Pantry Cabinets
If you take your cabinets all the way to the ceiling, you will need a way to reach the top. A small kitchen ladder that hooks onto a rail — the sort found in old libraries — is both useful and charming.
Floor-to-ceiling pantry cabinets can store an incredible amount of food, appliances, and supplies in a remarkably compact footprint.
Quick Comparison: Which Layout Is Right for You?
| Your Situation | Best Layout Idea |
|---|---|
| Narrow apartment | Galley |
| Kitchen that extends into living space | L-Shaped |
| Studio apartment or single-person household | One-Wall |
| Wide square kitchen | U-Shaped |
| High design, high impact | Open Shelf + Hidden Storage |
| Micro-apartment or tiny home | Fold-Out / Multi-Use Furniture |
| Limited floor space | Vertical Kitchen |
Bonus Tips That Work for Any Tiny Kitchen Living Layout
Regardless of which layout you select, these timeless tips will help your space work even harder.
Light it up. Dark kitchens feel smaller. Install under-cabinet lighting, raise your bulb wattage, and use light-colored surfaces.
Keep your color scheme simple. Two or three colors max. A unified look gives a small space a more cohesive feeling and less clutter.
Declutter ruthlessly. Everything in a small kitchen has to justify its existence. Six months without use, and it’s gone.
Utilize the insides of cabinet doors. Fix spice racks, hooks, or small shelves on the inside of cabinet and pantry doors. That space is nearly always unused.
Mirror or glass cabinet fronts. Glass-front upper cabinets both reflect light and add visual depth, making the kitchen appear bigger.
For even more inspiration and practical advice on making the most of your compact kitchen, Tiny Kitchen Living is a fantastic resource packed with ideas tailored specifically for small-space living.
If you’re also considering a full kitchen renovation to maximize your layout, the National Kitchen & Bath Association (NKBA) offers professional guidelines and certified designer directories to help you plan the right way.
FAQs About Tiny Kitchen Living Layout Ideas
Q: What is the most efficient small kitchen layout? The galley layout is widely considered the most efficient for small kitchens. It reduces the distance between your sink, stovetop, and refrigerator — the three most-frequented spots in any kitchen.
Q: What’s the best way to add additional counter space to a tiny kitchen? The best quick fixes are a rolling kitchen cart, a fold-down wall-mounted counter, or a small portable island. Even a sturdy cutting board that straddles the sink can provide you with some additional prep area.
Q: Can you have an island in a tiny kitchen? Yes, but it has to be the right size. A rolling island measuring 24–30 inches wide and 36 inches long can fit in surprisingly small kitchens and can be moved out of the way when it’s not needed.
Q: What colors make a small kitchen appear larger? Light, neutral colors — white, cream, light gray, and soft beige — tend to reflect light and create a larger feel. Steer clear of dark upper cabinets in small kitchens; they make the space feel closed in.
Q: What do you do with a small kitchen that has no storage? Start by going vertical. Install shelving above your counter, utilize the inside of cabinet doors, hang a pegboard or magnetic strip for tools, and don’t forget about the toe kick space under your base cabinets for flat items like baking trays.
Q: Is an open layout better for a small kitchen? Often, yes. An open kitchen that connects to the living or dining area feels less confining than a walled-off kitchen. It also lets natural light from the rest of the home reach the kitchen.
Q: What appliances are best for a micro kitchen? Compact, multi-function appliances work best. Think combination microwave/convection ovens, 2-burner induction cooktops, countertop dishwashers, and refrigerator drawers. They each save space while still getting the job done.
Wrapping It All Up
A small kitchen doesn’t have to be a frustrating one.
The right tiny kitchen living layout ideas will help you create a space that feels purposeful, organized, and genuinely enjoyable to cook in. The trick is to stop resisting the size of your kitchen and start playing into it.
Pick the layout that fits your space and lifestyle. Stack storage vertically. Let in as much light as you can. And remember — every inch matters, so make every inch count.
Implement just one change this week. You’ll be amazed at how a small shift in layout can totally transform the way your kitchen feels.