Let me be honest with you — when I moved into my studio apartment two years ago, my kitchen was basically a sad little corner with a two-burner stove, maybe 18 inches of counter space, and cabinets so shallow they couldn’t even fit a dinner plate properly. I was frustrated, constantly knocking things over, and convinced I needed to spend hundreds of dollars to make it functional.
Spoiler: I didn’t.
Over time, I figured out that most tiny kitchen problems don’t require a renovation or even a big shopping haul. They just need some creative thinking and a willingness to try things that might look a little unconventional. Here are 8 fixes I actually tried myself — on a genuinely tight budget — and what happened.
1. I Added a Tension Rod Under the Sink (Game Changer, Seriously)
Okay, this one sounds almost too simple. But hear me out.
Under my sink was basically a black hole. Cleaning sprays falling over, a random mop head in the way, bags stuffed into bags. It was chaos every time I opened that cabinet door.
I bought a basic tension rod — the kind meant for shower curtains — for about $4 at a dollar store, and stretched it horizontally inside the cabinet. Then I hung all my spray bottles by their trigger handles. Just like that, I freed up the entire floor of that cabinet for other things.
I didn’t expect it to make such a big difference emotionally. Like, that small win actually made me want to keep the kitchen clean.
What you’ll need:
- 1 tension rod ($3–$6)
- That’s it.
Pro tip: If your bottles are heavy, check the rod’s weight rating. Most basic ones hold up fine for standard cleaning sprays.
2. I Swapped My Big Cutting Board for a Sink-Bridging One
My counter space was so limited that every time I needed to chop vegetables, I had to move my toaster, reposition a fruit bowl, and basically reorganize half the kitchen just to have room to work.
Then I found a sink-bridging cutting board — it’s designed to sit over your sink and give you a temporary work surface. Mine cost around $18 on Amazon and it was one of the best small investments I made. I even got one with a built-in colander on the side, which means I can chop and rinse without any extra bowls.
It doesn’t look fancy. But it works.
If you’re dealing with similar counter chaos, you might want to check out these 7 smart tiny kitchen living layout ideas that maximize every inch — a lot of the advice there pairs really well with this kind of quick fix.
3. I Used the Inside of Cabinet Doors (Finally)
I had completely ignored this space for months. Just flat, blank cabinet doors doing nothing.
One afternoon I stuck some adhesive hooks on the inside of a lower cabinet door and started hanging my measuring cups and spoons there. Zero cost (I already had the hooks from an old apartment). Suddenly those utensils weren’t rattling around in a drawer taking up space.
Then I went further. I found a cheap magazine holder at a thrift store for $1 and mounted it inside another cabinet door with two small screws. Now it holds my plastic wrap, foil, and parchment paper rolls perfectly — flat and accessible.
Total cost for this fix: $0–$3
The inside of cabinet doors is honestly some of the most overlooked real estate in a small kitchen.
4. I Built a “Command Station” on the Fridge
My fridge was just standing there being a fridge. That’s fine, but the side of it? Completely wasted.
I picked up a set of magnetic spice jars ($12 for a set of 12) and stuck them on the side panel of the fridge facing outward toward the kitchen. Salt, pepper, cumin, chili flakes — all the stuff I reach for constantly — right there at arm’s level.
I also added two small magnetic bins. One holds a notepad and pen (grocery list, always). The other holds small tools like a vegetable peeler and a can opener.
It felt a little weird at first, using the fridge like a pegboard. But functionally? It’s excellent. I don’t dig through drawers anymore looking for my peeler.
Approximate cost: $12–$20 total
5. I Got Rid of the Dish Rack and Switched to a Drying Mat
This one took me a while to accept.
I had a traditional over-the-sink dish rack — you know the kind, the big plastic one with a drip tray. It ate up nearly a quarter of my counter space. All the time. Even when it wasn’t full of dishes, it just sat there, occupying prime real estate.
A friend suggested I try a microfiber drying mat instead. I resisted because I thought, “That won’t hold enough.” But I tried it anyway.
Here’s the thing — when you have a tiny kitchen, you’re not doing huge loads of dishes at once. You do a few things, dry them, put them away. A flat mat handles that perfectly and rolls up or hangs on a hook when not in use.
I gained almost 14 inches of counter space back. That’s significant when your entire counter is maybe 24 inches to begin with.
Cost: $8–$12 for a good microfiber mat
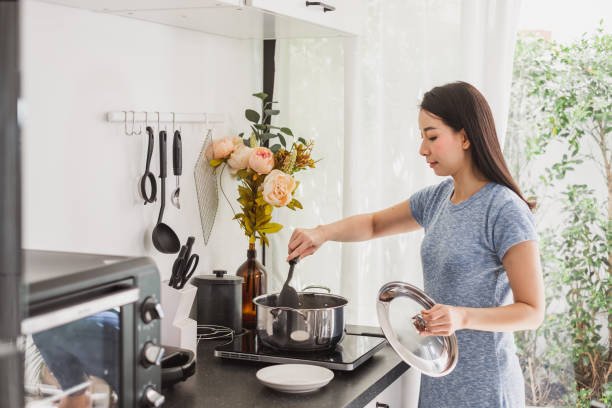
6. I Started Cooking in a Specific Order (No Products Required)
Alright, this one doesn’t cost a single cent. But it made a bigger difference than some of the physical purchases.
I used to cook the way I thought about cooking — chaotically. Start the pasta, realize I need to chop onions, move things around, forget a lid, run out of room. My tiny kitchen made every session stressful because I was fighting the space instead of working with it.
Someone suggested I think about tiny kitchen cooking like a surgeon’s prep station. Everything set out before you start. Ingredients prepped, tools laid out, trash bowl on the counter (more on that in a second).
This is called mise en place — it’s a French culinary concept meaning “everything in its place.” Chefs swear by it. Turns out it’s practically designed for small kitchens because it forces you to think ahead instead of scrambling mid-cook.
Here’s how I started doing it:
- Read the whole recipe first
- Pull out every ingredient
- Chop, measure, and prep everything into small bowls or ramekins
- Set out only the tools I’ll actually use
- Start cooking
My kitchen didn’t change. But my experience in it completely changed.
If you want more workflow-based tips, check out these 5 powerful tiny kitchen living cooking tricks — they go deeper into the habits that actually make a difference.

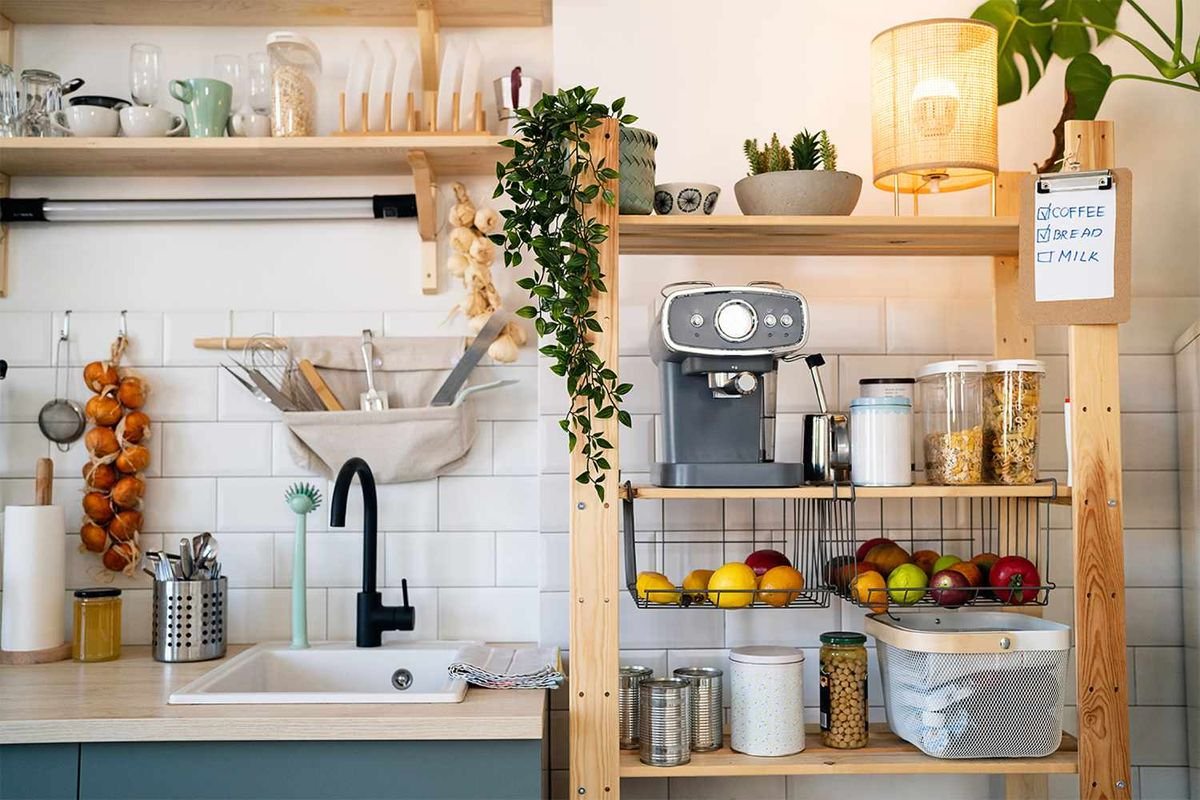
7. I Added a Small Shelf Above the Counter
This took maybe 20 minutes and cost $14.
I found a basic floating shelf at IKEA (the LACK shelf, which is about $10–$15), and mounted it on the wall about 12 inches above my counter. Now it holds my coffee maker, a small plant, and a basket with tea bags and sugar.
The coffee maker had been on the counter before. Moving it up literally gave me back a 10-inch square of workspace. That’s where I now keep my cutting board when I’m not using it.
Things to watch for:
- Make sure you’re mounting into a stud or using drywall anchors rated for the weight
- Keep frequently used things at eye level so you’re not reaching awkwardly
- Don’t overload it — one shelf, one purpose
I’ve seen people hesitate on floating shelves because they’re worried about drilling. If you’re renting, talk to your landlord first. Many landlords are fine with it as long as you patch the holes when you leave. I’ve done this in three apartments now without issues.
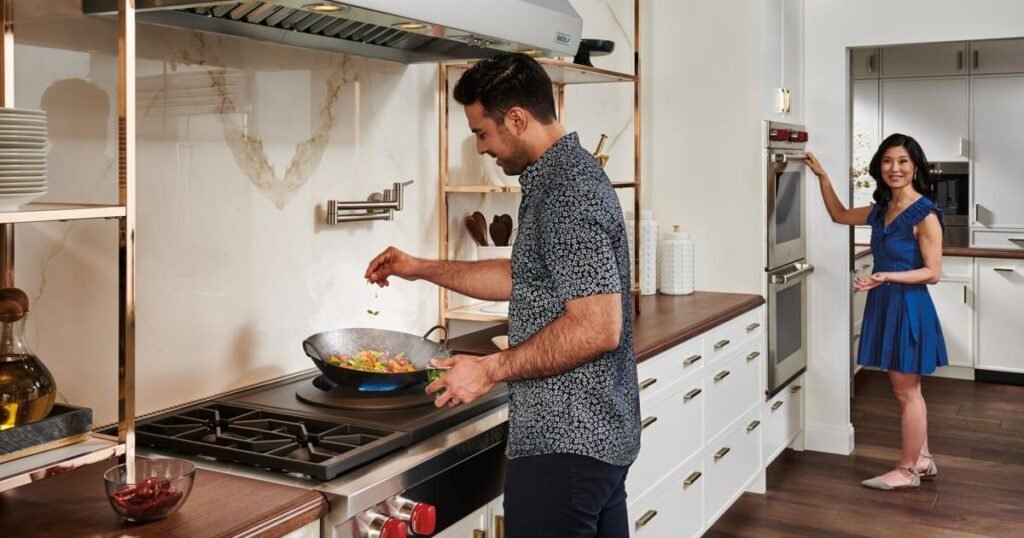
8. The “Trash Bowl” Trick That Changed How I Cook
This sounds ridiculous. It changed my cooking life.
The idea is simple: instead of walking back and forth to the trash can while prepping food, you put a bowl on the counter specifically for scraps. Vegetable peels, onion skins, garlic paper, whatever — it all goes in the bowl as you work.
I first heard about this from Rachael Ray, actually. She talks about it constantly on her cooking shows. I always thought it was just a TV thing. It’s not.
In a tiny kitchen, every step you take is a step around something or past something. Eliminating those trips back to the trash cuts down on the chaos significantly. At the end of cooking, one trip, dump the bowl, done.
I use an old mixing bowl. No cost. Truly zero.
A Quick Look at What Each Fix Actually Cost Me
| Fix | Approximate Cost | Time to Implement |
|---|---|---|
| Tension rod under sink | $4 | 5 minutes |
| Sink-bridging cutting board | $18 | 0 (just place it) |
| Inside cabinet door organizers | $1–$3 | 15 minutes |
| Magnetic fridge command station | $15 | 20 minutes |
| Drying mat swap | $10 | 0 |
| Mise en place habit | $0 | Ongoing |
| Floating shelf | $14 + screws | 20 minutes |
| Trash bowl method | $0 | 0 |
| Total | ~$62–$65 | ~1 hour total |
That’s less than the cost of one “kitchen organization kit” you’d see advertised for $80 on Instagram. And most of that hour was shopping or installing — not actual disruption to my day.
Mistakes I Made Along the Way
I want to be real about the things that didn’t work, too.
I bought a pegboard I never installed. It seemed like a great idea, but I kept putting off the installation, and eventually the pegboard sat behind my door for four months. Lesson: if a fix requires tools or effort you don’t currently have energy for, start with the zero-effort fixes first.
I over-organized once. I bought a bunch of drawer dividers and spent an entire Saturday sorting things into perfectly labeled sections. Within two weeks, it looked exactly the same as before. The issue wasn’t the lack of dividers — it was too many items. The real fix was decluttering, not organizing. A tiny kitchen organization reset helped me realize what I was actually using versus what I was just storing out of habit.
I kept a toaster oven I never used. For months, it sat on the counter taking up space because “what if I need it?” I donated it. The counter space I got back was immediately better than the toaster oven ever was.
What Actually Matters Most
Here’s what I’ve learned from all of this: in a tiny kitchen, space is less about square footage and more about what you’re keeping and how you’re using it.
No hack works if your kitchen is full of stuff you don’t actually need. The tension rod won’t help if the cabinet is packed with products you haven’t touched in a year. The floating shelf won’t help if you pile it with things randomly.
Every fix I listed above works best after a basic declutter. Go through your cabinets once, honestly, and ask: Have I used this in the last 3 months? If no, it’s taking up space that your kitchen doesn’t have to give.
After that? Even the cheapest, simplest fixes start to feel like actual transformations.
Also worth reading: If your storage situation feels overwhelming, 11 easy tiny kitchen living storage tricks I wish I knew earlier has a lot of practical advice that goes well beyond what I’ve covered here — especially if you’re dealing with cabinets that just weren’t designed with real cooking in mind.