I still remember standing in my first studio apartment kitchen, staring at two tiny drawers, one cabinet above the stove, and approximately zero counter space — holding a bag of groceries and genuinely wondering where any of it was supposed to go.
It wasn’t just inconvenient. It was stressful. Every time I wanted to cook, I’d spend the first ten minutes just clearing space to cook. That’s not a kitchen routine. That’s a punishment.
But here’s the thing — after two years in that apartment, and another year helping a friend reorganize her equally tiny kitchen, I’ve learned that small kitchen problems are almost never about space. They’re about how you use the space. The right organization changes everything. Not just aesthetically — but how fast you cook, how calm you feel, and how much food you actually stop wasting.
So here are 9 tips that actually work. Not the Pinterest version — the real, lived-in version.
1. Stop Storing Things Where They Don’t Belong
This sounds obvious, but it’s the number one mistake I see in small kitchens — including my own early setup.
Spices above the stove? Convenient but terrible — heat and steam destroy them faster. Cutting board leaning against the backsplash? Now you’ve lost 4 inches of counter depth. Dish soap sitting on the counter edge? That’s prime real estate you’re giving away for free.
The fix: do a full 10-minute audit. Pick up every item on your counter and ask, does this need to live here, or am I just used to it being here?
You’ll be surprised how many things migrate back to a drawer or a cabinet when you actually question them.
Quick counter audit checklist:
| Item | Keep on Counter? | Better Spot |
|---|---|---|
| Dish soap | Only if no under-sink space | Under-sink caddy |
| Paper towel holder | Maybe — wall mount saves more | Wall or cabinet side |
| Spice rack | No | Drawer insert or inside cabinet |
| Coffee maker | Yes (if daily use) | Counter corner |
| Knife block | No | Magnetic wall strip |
| Fruit bowl | Yes (if actually used) | Counter or top of fridge |
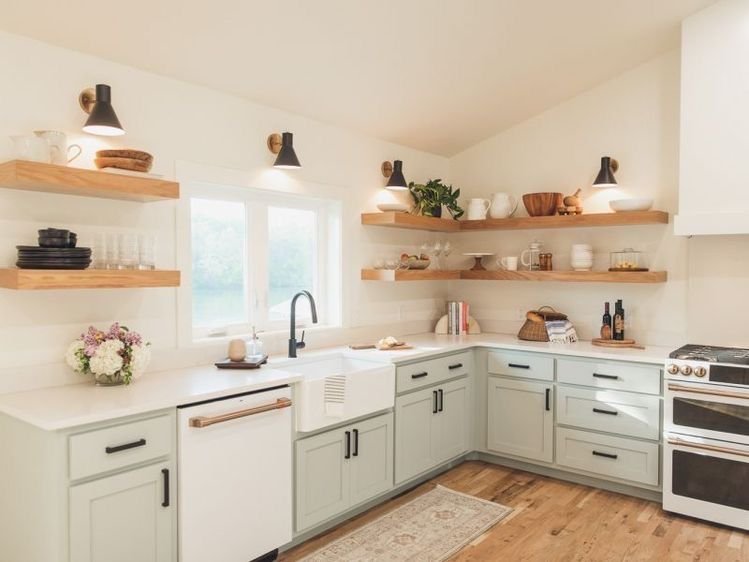
2. Go Vertical — Your Walls Are Free Real Estate
When floor and counter space runs out, look up. Seriously. Most small kitchens use maybe 40% of their available vertical space, and that’s a massive missed opportunity.
What I did in my studio: I installed a simple pegboard on one wall panel near the stove. Hung my most-used pans, a few small baskets for spatulas and tongs, and a rail for dish towels. It cleared out an entire cabinet that I then used for dry goods.
You don’t need to drill into walls if you’re renting. There are over-the-door organizers, tension rod shelf systems, and freestanding shelving units that do the same job without leaving a mark.
Some vertical options worth considering:
- Magnetic knife strips — free up a full drawer
- Wall-mounted spice shelves — three-tiered ones hold 15-20 jars easily
- Pegboards — flexible, customizable, and very cheap to set up
- Stacked wire shelving — perfect for above the fridge (that space is basically always wasted otherwise)
- Over-cabinet hooks — hang mugs, colanders, or small baskets on the outside of cabinets
For more ideas on making walls work harder, check out 9 Secret Tiny Kitchen Living Storage Ideas Using Wall Space — there’s some genuinely clever stuff in there.
3. Use Drawer Dividers (Seriously, Just Do It)
Junk drawers don’t happen because people are messy. They happen because drawers have no internal structure, so everything just… piles up.
I had one drawer that held my peeler, a mystery cable, three rubber bands, a pen, and somehow a travel-size shampoo. I’d like to say that’s embarrassing, but I’ve seen this exact drawer in almost every small kitchen I’ve visited.
Drawer dividers — the bamboo expandable kind or even simple acrylic trays — completely change how a drawer functions. When every item has a designated spot, you stop the pile-up before it starts.
For utensil drawers, I went with a three-zone approach:
- Zone 1: Cooking tools (peeler, can opener, tongs)
- Zone 2: Cutlery (separated cleanly)
- Zone 3: Miscellaneous small items (twist ties, clips, small scissors)
It took 20 minutes to set up and I’ve never had to “search” through that drawer again.
4. Nest and Stack Everything You Can
Cabinet space in a tiny kitchen is precious. The way most people store things — one pot inside another but without thinking it through — wastes a surprising amount of room.
Here’s what actually works:
For pots and pans: Store lids separately using a vertical lid organizer (they’re usually under $10). Then nest your pots from largest to smallest. Suddenly two pots become one stack, and you’ve freed up room for a third.
For food containers: Only keep containers with matching lids. Ruthlessly. If the lid is missing, the container goes. I did a “container purge” once and got rid of 14 mismatched pieces. Immediately gained half a shelf.
For mixing bowls: Nest them with the measuring cups stored inside the smallest one. Compact, logical, and you always know where the measuring cups are.
For baking sheets and cutting boards: Store vertically using a file organizer or a tension-rod divider inside a cabinet. Horizontal stacking means pulling everything out to get the one at the bottom — vertical means grab-and-go.
5. The “One In, One Out” Rule for Kitchen Stuff
This one took me a while to actually commit to, but it’s probably the most important long-term habit for tiny kitchen organization.
Every time something new comes into the kitchen — a gadget, a dish, a container — something else has to leave.
Why does this matter? Because small kitchens don’t fail because of one bad day of organizing. They fail because things accumulate slowly, one “I’ll deal with this later” at a time. The mandoline slicer you used twice in 2023. The espresso cups for the machine you no longer own. The four wooden spoons (you need two, maximum).
Go through your kitchen gadgets and ask: Have I used this in the last 3 months?
If no, it gets donated, stored outside the kitchen (if truly seasonal), or tossed. This isn’t about being minimalist for aesthetics — it’s about giving every tool you do use enough breathing room to be accessible.
6. Label Everything Inside Cabinets
Okay, this one sounds like overkill until you actually do it.
When you label shelf zones inside your cabinets — even with simple masking tape and a marker — you create a “reset point” for your kitchen. After cooking, putting things back in the right spot becomes automatic because the spot is defined.
Without labels, things drift. The coffee goes next to the pasta, the oil ends up near the mugs, and within two weeks your cabinet is chaos again despite your best initial organizing efforts.
My labeling system uses three categories per shelf:
- Everyday (things I reach for daily)
- Weekly (things I use a few times a week)
- Occasional (things that only come out for specific meals or guests)
Everyday stuff lives at eye level and front of shelf. Weekly in the middle. Occasional gets the back row or the harder-to-reach spots.
| Shelf Level | Best For |
|---|---|
| Eye level | Daily-use plates, glasses, mugs |
| Below eye level | Pots, pans, baking dishes |
| Above eye level | Occasional items, extras |
| Very top | Rarely used appliances, backstock |
| Bottom cabinets | Heavy items, cleaning supplies |
7. Rethink Your Refrigerator Door and Top
Two spots that almost everyone wastes in a small kitchen:
Top of the fridge: This is often just where random stuff lands — a takeout menu from 2021, some fruit that’s been there “ripening” for three weeks. Instead, put a flat storage bin up there for things like extra paper towels, plastic bags, or snack items you’re trying to keep out of direct sight. A small basket or tray keeps it from looking cluttered.
Fridge door: The door is warmer than the main fridge body, so it’s not ideal for dairy or eggs (yes, really). Use it for condiments, drinks, and anything that tolerates slight temperature variation. And for the love of all things practical, use a small acrylic organizer on one fridge shelf to group similar items — “sauce shelf,” “drink shelf,” “leftover shelf.” It sounds excessive until you stop losing half a block of cheese behind a jar of pickles you forgot you owned.
You might also want to look at 11 Easy Tiny Kitchen Living Storage Tricks I Wish I Knew Earlier for some refrigerator and pantry tips that are genuinely underrated.
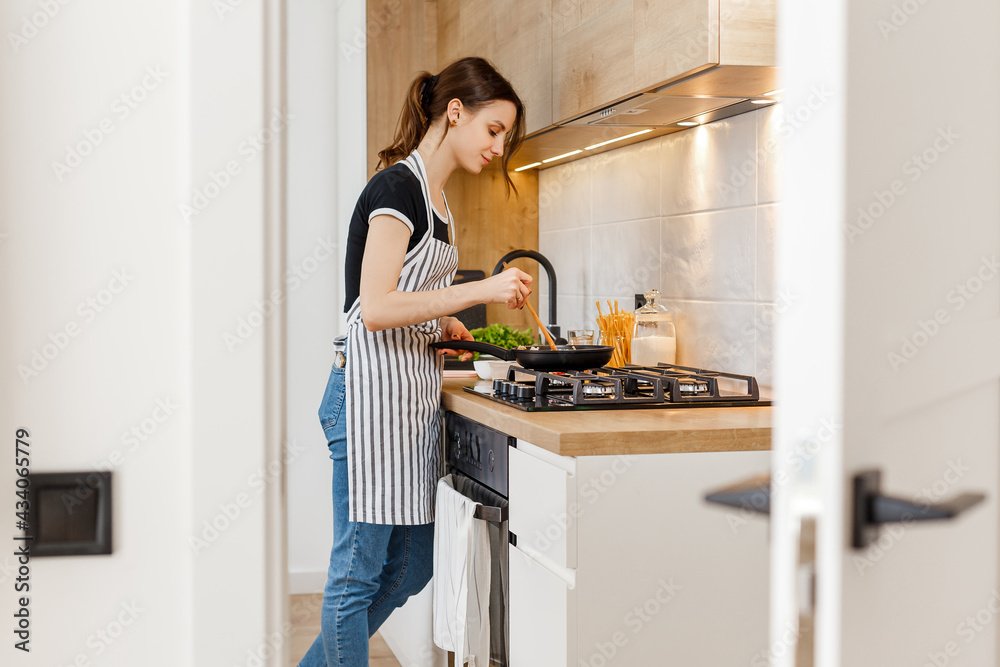
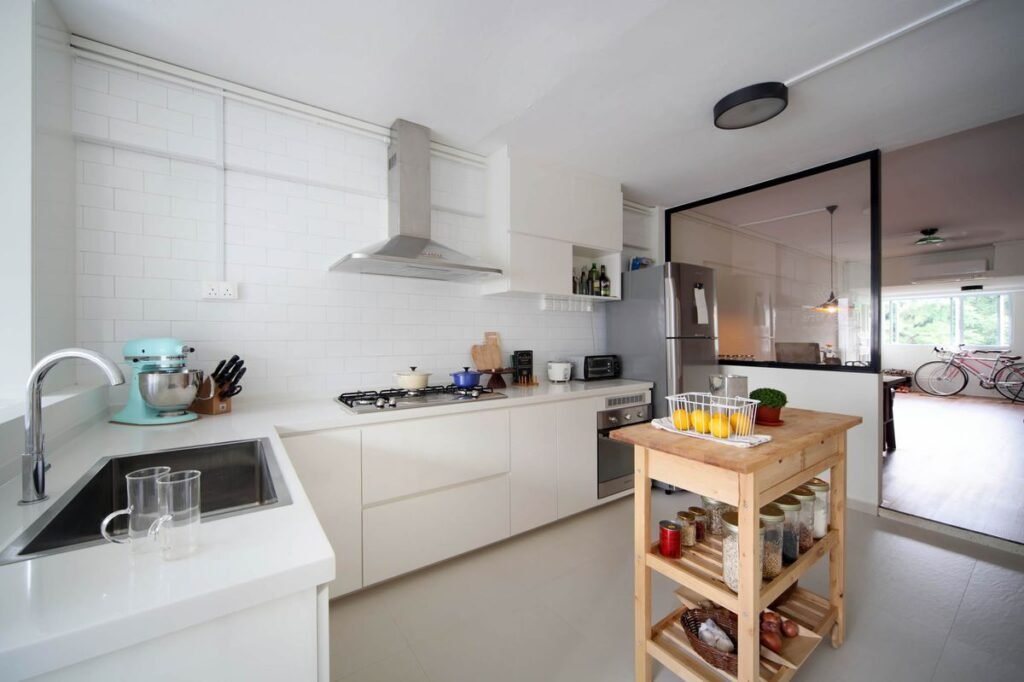
8. Build a Cooking Prep Zone — Even If It’s Just 12 Inches
One of the most effective things I did in my small kitchen was designate one fixed spot as my prep zone. Just one cutting board width of counter space. That’s it.
The rule: that spot stays clear. Always. It’s not a landing pad for mail, not a charging station, not where the dish drying rack migrates to. It’s where I chop, season, and plate.
This sounds simple but the psychological effect is huge. When you have a dedicated prep zone, you start cooking faster because the mental overhead of “where am I going to do this?” is already answered.
If your counter is genuinely too small, a fold-down wall-mounted table or an over-the-sink cutting board can give you that extra surface without taking up permanent space.
Over-the-sink boards are a particularly good investment for studio kitchens — they turn dead space into a prep zone and often double as a dish drying area. Some come with built-in colanders, which is even better.
9 . Do a Weekly 10-Minute Reset (Not a Full Reorganize)
Here’s the mistake most people make with kitchen organization: they do one big, satisfying overhaul, feel amazing for about a week, and then slowly watch it unravel.
The fix isn’t another overhaul. It’s maintenance.
Once a week — I do mine on Sunday evenings while something’s on the stove — I do a 10-minute walk-through of the kitchen:
- 2 minutes: Clear anything that doesn’t belong on the counter
- 2 minutes: Check the fridge for anything about to expire (use it or lose it)
- 2 minutes: Reorganize the utensil drawer if anything’s drifted
- 2 minutes: Wipe down the cabinet fronts and stove area
- 2 minutes: Check if anything is running low (and add to the shopping list)
That’s it. Ten minutes. It never gets out of control because you’re catching it before it does.
The people I know with perpetually tidy small kitchens aren’t naturally organized. They just have a short, consistent reset habit that keeps entropy in check.
Common Mistakes to Avoid
Even with the best intentions, small kitchen organization attempts can backfire. Here’s what to watch for:
Buying organizers before auditing — Most people go straight to the store and buy baskets, dividers, and bins before they know what they actually need. Then they organize their clutter instead of eliminating it. Always audit first, buy second.
Ignoring the “landing zone” problem — In most kitchens, there’s one spot where everything gets dropped when you come home. Bags, mail, random items. If your kitchen has this zone (mine was a tiny strip of counter near the door), design around it. Put a small tray there intentionally. It contains the chaos.
Prioritizing looks over function — Open shelving looks beautiful in photos and creates mayhem in real life if you have even one week of busy days. Be honest about how much upkeep you’ll actually do.
Forgetting about cleaning access — Organizers that are hard to remove and clean will become disgusting over time. Every few months, everything should be pullable-out and washable. Factor that in when you choose organization systems.
Storing things by category instead of frequency — “All baking supplies together” sounds logical, but if you bake every weekend and only use your blender monthly, they shouldn’t have equal access. Organize by how often you reach for something, not just what category it belongs to.
For a deeper look at keeping your cooking workflow smooth even with limited space, 8 Secret Tiny Kitchen Living Cooking Habits That Save Counter Space covers some habits that pair really well with a good organization setup.
Tiny kitchen organization isn’t a one-time project. It’s a set of habits and systems that compound over time. The first week you do it right, it feels like a lot of effort. By month two, it’s just… how your kitchen works. And that’s when it stops feeling like a small kitchen and starts feeling like your kitchen.
The space didn’t change. You just got smarter about it.
Also worth reading: 10 Easy Tiny Kitchen Living Organization Habits That Changed My Routine — a great companion piece if you want to build on the systems above with daily habits that stick.