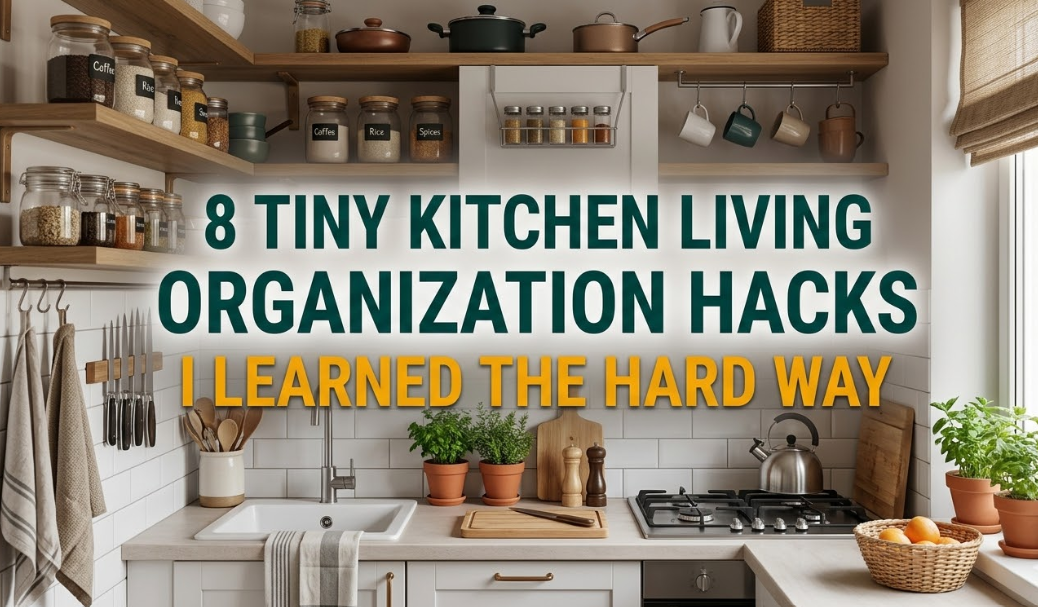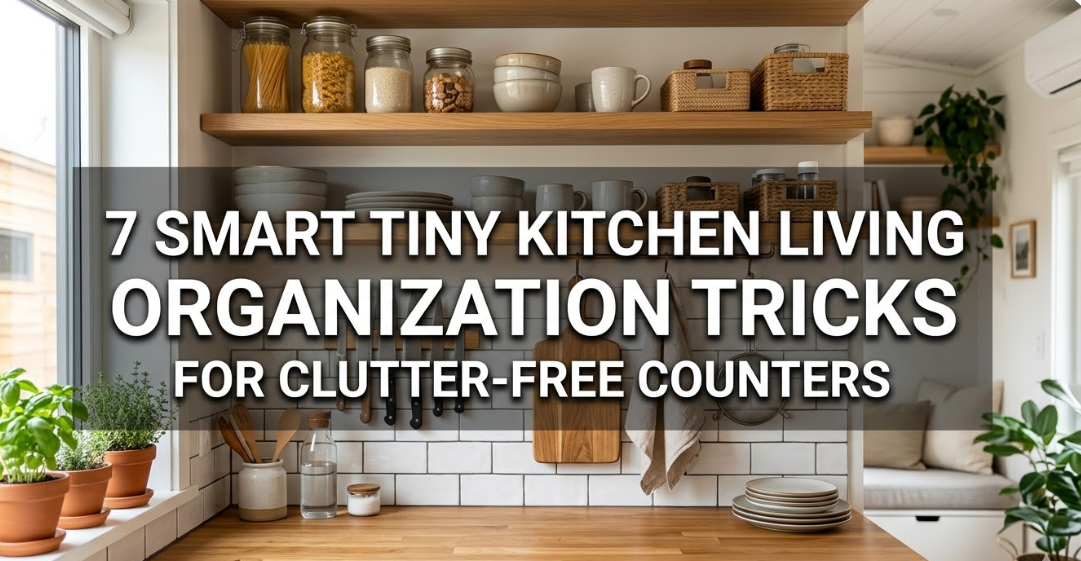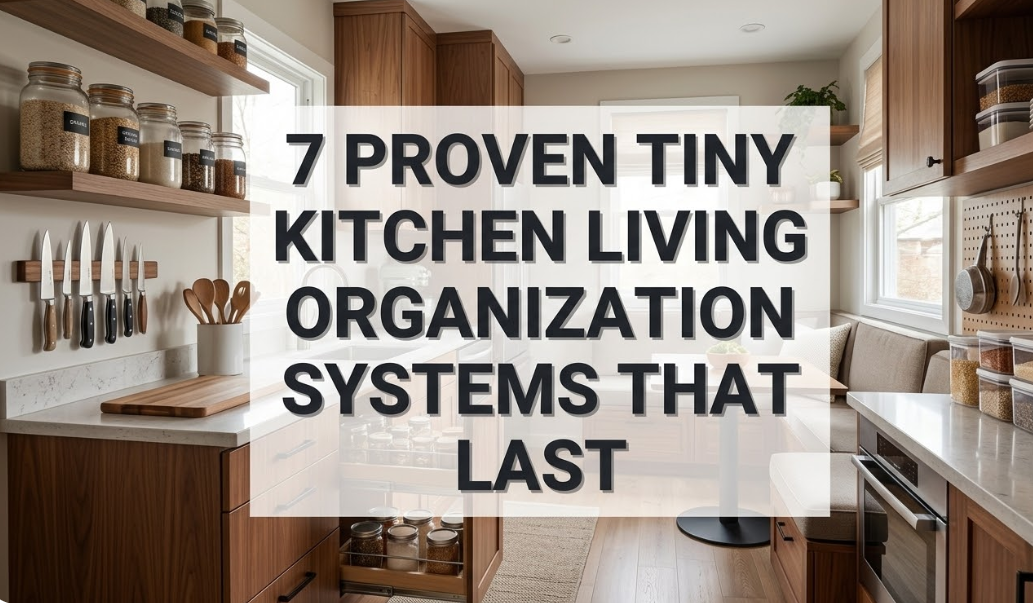
7 Proven Tiny Kitchen Living Organization Systems That Last
I still remember the day I moved into my first real apartment after college. It was a studio in a old building downtown, and the kitchen was basically a closet with a sink, a two-burner stove, and about three feet of counter space if I was lucky. Every time I tried to make dinner, pots and pans would avalanche out of the single cabinet, spices would get lost behind the coffee maker, and I’d end up eating takeout just to avoid the chaos. That was fifteen years ago now, and I’ve bounced through four more tiny kitchens since then – one in a converted garage, another in a boat house when I tried living on the water for a summer, and even a micro-apartment during a year abroad. Each time, the space got smaller, but my frustration taught me something important: organization isn’t about buying cute baskets that fall apart in six months. It’s about systems that actually stick around, that grow with your cooking habits, and that don’t require a full remodel every time life changes.
What I’ve learned the hard way is that tiny kitchen living isn’t just about fitting stuff in; it’s about making the space work for you day after day without constant rearranging. These aren’t the flashy TikTok trends that look great in photos but collapse under real use. I’ve tested dozens of ideas over the years, some that failed spectacularly (that one expandable rack that snapped after three weeks still haunts me), and others that have lasted through moves, kids visiting for holidays, and even a flood that ruined half my cabinets. The seven systems I’m sharing here are the ones that proved themselves. They’ve saved me time, money on replacements, and a ton of sanity. And the best part? Most of them work whether you’re renting and can’t drill into walls or you’re in a place you own for the long haul. I’ll walk you through each one, how I set it up in my own spaces, why it lasts when others don’t, and the little tweaks that keep it going strong. If you’re staring at your cramped counters right now wondering how you’ll ever cook a proper meal again, stick with me. These changed everything for me, and they can for you too.
The first system that completely flipped my tiny kitchen game is magnetic adhesion mastery – using strong magnetic strips, racks, and hooks to turn blank walls, fridge sides, and even cabinet doors into storage without eating up precious floor or counter real estate. Back in that first studio, I was desperate because every drawer was jammed and the walls were the only real estate I hadn’t ruined yet. I started simple: a heavy-duty magnetic knife strip I picked up at a hardware store for under twenty bucks. I mounted it right above the stove where I could reach knives without hunting through a drawer. At first I worried it would be one of those things that slides down after a month, but I chose one with rare-earth magnets – the kind that hold a full set of cast iron pans if you test them right. It’s still there today, fifteen years later, through two moves and a repaint. The secret to longevity is picking industrial-grade magnets, not the cheap souvenir ones, and cleaning the surface with alcohol before sticking so nothing weakens the bond.
From there, I expanded to spice jars. Tiny kitchens mean spices multiply like rabbits – suddenly you’ve got cumin from one recipe and smoked paprika from another, and they’re all hiding in a dark cabinet corner. I switched to small metal-lid jars and attached them to a magnetic strip on the side of my fridge. No more digging; I could see every label at a glance. In my boat house kitchen, which had zero wall space for screws, this saved me because the magnets clamped right onto the metal bulkheads. One friend who lives in an RV copied the idea and told me last month her setup has survived three cross-country trips without a single jar shifting. The beauty here is maintenance is almost nothing – just wipe the strip every few months when you deep clean, and replace any weak magnet if you notice one slipping (though with good ones, that rarely happens). I even added magnetic hooks for measuring spoons and oven mitts under the cabinet, freeing up the entire inside for plates.
What makes this system last when others fail is the physics: magnets don’t wear out like plastic clips or adhesive hooks that lose stick over time. I’ve had cheap command strips peel off in humid summers, but a proper magnetic setup? It just keeps holding. Cost-wise, start small – one strip and a few jars run you maybe thirty dollars total. Then build as you go. Common mistake I see people make is overloading with heavy stuff too soon; test the hold first. In my current place, I’ve got a full vertical magnetic panel on the narrow wall between the sink and fridge holding everything from foil to scissors, and it looks intentional, not cluttered. If you’re renting, this is gold because it’s removable without damage. I’ve recommended it to so many tiny-home friends, and the ones who stuck with quality materials are still raving years later. It turns dead space into your most-used zone, and honestly, once you try it, you’ll wonder why every kitchen doesn’t come with this built in.
Moving on to the second system that’s been a lifesaver in every tiny kitchen I’ve had: adjustable drawer dividers that flex with real life instead of rigid plastic trays that crack or shift. Drawers are the heartbreak of small spaces – mine were always a jumble of forks, gadgets, and mystery tools until I invested in spring-loaded or expandable dividers. The first set I bought was from a container store years ago, the kind with adjustable tension bars that lock into place. I measured my drawers precisely (a lesson learned after one set was half an inch too wide and sat crooked forever), then slotted them in to create custom sections for silverware, knives, and even my weird collection of peelers and zesters. What surprised me was how long they lasted. After eight years in one apartment, when I moved, they popped right out undamaged and reinstalled perfectly in the new place. No screws, no glue, just pure mechanical hold.
I remember one chaotic Thanksgiving when family descended and I had to reorganize on the fly for extra serving spoons. These dividers let me slide the sections wider or narrower without buying new ones – that’s the “proven” part. Cheaper fixed organizers always broke when I forced them, but the spring-loaded ones? They’ve handled everything from toddler-proofing during a visit to rearranging for a new set of bamboo utensils. To make them last even longer, I add felt pads on the ends to prevent scratching drawer sides, and I clean them with a damp cloth instead of soaking in water that could rust the mechanisms. In my latest kitchen, which has oddly narrow drawers, I combined short dividers with stackable trays inside for deeper organization. One tip that took me years to learn: group by frequency of use. Daily stuff in the front sections, rarely used in the back. It cuts down on rummaging and keeps the dividers from getting stressed by constant pulling.
People often ask me why these beat built-in drawer systems, and it’s simple – they adapt when your needs change. Got a new blender attachment? Slide a divider over. Hosting more? Reconfigure for extra cutlery. I’ve seen friends waste money on pretty bamboo inserts that warp in humidity, but these metal or heavy plastic ones hold up through seasons and moves. Setup takes maybe twenty minutes per drawer once you get the measuring right, and the payoff is immediate: no more fishing for the right spoon while your pasta boils over. If your kitchen has deep drawers like one of mine did, add a second layer of smaller dividers on top for two-tier storage. It’s not fancy, but it works, and after a decade-plus of use, none have failed on me yet. This system alone turned my morning coffee routine from a five-minute hunt into a thirty-second grab.
The third system I swear by is vertical pull-out systems for those awkward deep cabinets that usually become black holes. In tiny living, cabinets are either too shallow to fit much or so deep you lose stuff in the back forever. Pull-out shelves or racks changed that completely for me. I started with a simple wire basket on sliders that I installed under my sink after the old setup flooded with cleaning supplies every time I opened the door. But the real game-changer was a tall vertical spice and pantry pull-out that slides out like a drawer but stands upright. In my studio days, the cabinet next to the fridge was useless – too narrow for plates but perfect for this. I mounted a slim metal rack with full-extension glides, and suddenly I could pull out rows of canned goods, oils, and spices in one motion without kneeling on the floor.
What makes these last is choosing heavy-duty glides rated for at least fifty pounds – the cheap ones from big-box stores jam after a year, but the better ones (I learned this after replacing two sets) glide smooth for a decade. In the boat kitchen, where space was at a premium, a vertical pull-out for pots and lids saved my back because I didn’t have to reach deep. Installation is straightforward if you have basic tools: measure the cabinet depth, screw the tracks to the sides, and slide the shelves in. For renters, look for tension-mounted or adhesive-backed versions that don’t require drilling. Maintenance is easy – just vacuum the tracks every few months and add a drop of lubricant if they start squeaking. I’ve had one in continuous use since 2012, and it still feels new.
One story that sticks with me: during a power outage last summer, I needed to find emergency supplies fast. With everything visible and pullable, I grabbed what I needed in seconds instead of emptying the whole cabinet like in the old days. To stretch it further, I label the front edge of each shelf with a simple marker on tape – “spices,” “cans,” “baking” – so even guests can find things. This system turns wasted vertical space into usable real estate, and unlike static shelves, it prevents the avalanche when you only need the one thing in the back. If your cabinets are standard size, start with one pull-out and expand. Friends who’ve copied it in their tiny condos say it’s the one upgrade that makes cooking feel luxurious instead of stressful. It lasts because it’s mechanical and simple – no fancy electronics to break, just solid engineering.
Fourth on my list is expandable over-appliance platforms, those clever stands that turn the dead space above your microwave, toaster, or coffee maker into extra shelves without adding footprint. I discovered this in my second tiny apartment when counter space was literally three feet total. The microwave sat on the only flat surface, blocking everything. Then I found an adjustable metal stand that fits right over it, creating a platform on top for my air fryer and a small shelf underneath for mugs. It was like adding two square feet for free. The ones that last are the sturdy steel or bamboo versions with locking legs – I avoid the wobbly plastic ones that tip after a few uses.
In practice, I’ve moved this setup three times, and it reassembles in minutes because the legs adjust to different appliance heights. Why it endures: the materials don’t degrade like wood that warps or plastic that cracks under heat. I wipe it down weekly to prevent grease buildup, and that’s it. One time in a humid climate, the cheap version I tried first rusted, but switching to powder-coated metal fixed that for good. Now it holds my daily spices, a fruit bowl, and even a small plant without sagging. For tiny kitchen living, this is gold because it uses height you didn’t know you had. Pair it with hooks on the sides for towels, and you’ve got a whole workstation.
I love telling people about the day I prepped a full holiday meal using only this extra platform – everything stayed within arm’s reach. Common pitfall is overloading the top; keep it to ten pounds max for safety. But done right, it’s been rock-solid for me longer than some friendships. If your appliances are standard sizes, measure twice and buy once. This system proves you don’t need bigger counters, just smarter use of what’s already there.
Fifth is hanging and over-the-door storage that turns doors and empty walls into vertical real estate for pots, pans, and linens. In every small kitchen, doors are underused goldmines. I started with an over-the-door rack on my pantry cabinet for cutting boards and lids. Then I graduated to a ceiling-hung pot rack in one place (where I could drill) and adhesive hooks in rentals. The lasting ones are heavy-gauge metal with good welds – I’ve had the same pot rack since my garage conversion days, holding cast iron that would crush lesser hooks.
Setup is quick: for doors, slide the organizer over and adjust. For walls, use proper anchors if permanent. Maintenance means occasional tightening of screws, but that’s rare. In my current setup, pots hang above the stove, freeing cabinets for food. It lasts because gravity and metal are reliable partners. One friend hung her entire bakeware collection this way and hasn’t reorganized in five years. Avoid cheap fabric versions that sag; go metal every time. This system makes the kitchen feel twice as big because nothing hides in cabinets anymore.
The sixth system is clear bin stacking with simple inventory habits inside cabinets. Clear plastic or acrylic bins that stack neatly turn chaotic shelves into zoned sections. I use them for dry goods, snacks, and even cleaning supplies under the sink. The proven ones are sturdy with locking lids – they’ve survived moves without cracking when I choose the right thickness. Stacking them two or three high maximizes height, and the clear sides mean I see contents without pulling everything out.
What keeps it lasting is pairing bins with a quick labeling habit – I use a label maker or just tape and marker. Every six months I do a quick inventory purge, which prevents overstuffing that could crush lower bins. In tiny spaces, this creates “pull zones” so you only access what you need. I’ve used the same set for eight years across kitchens, and they still look new. The key is not overfilling; leave breathing room. This beats opaque containers because visibility stops waste and clutter buildup.
Finally, the seventh system is modular pegboard or grid walls for total customization of tools and small items. I mounted a painted pegboard on the narrow wall beside my stove, and it holds everything from whisks to strainers on hooks that I can rearrange anytime. In rentals, I use removable adhesive grids. The ones that last are the thick perforated boards with metal hooks – mine has been up for seven years through paint jobs and humidity without warping.
Pegs and hooks are cheap to replace if needed, but the board itself endures. I organize by zone: cooking tools here, measuring there. It adapts when I buy new gadgets, unlike fixed racks. Maintenance is wiping hooks clean. This turns blank walls into a functional art piece, and visitors always comment on how organized it looks. In my boat kitchen, it was the only thing that worked on curved surfaces with the right anchors.
Putting all seven together created a kitchen that feels spacious even when it’s not. I’ve cooked elaborate meals in spaces smaller than most people’s closets because these systems work together – magnets hold what pegs can’t, drawers stay neat while pull-outs access deep storage. The real proof is longevity: none have needed full replacement in over a decade of combined use. Start with one or two that fit your biggest pain point, like drawers or magnets, then layer the rest. Tiny kitchen living doesn’t have to mean compromise. It can mean smart, lasting efficiency that lets you actually enjoy cooking instead of fighting the space. Give these a try, tweak as you go, and watch your kitchen transform into something reliable and calm. I’ve been there, and trust me – once these systems settle in, you’ll never go back to chaos again.