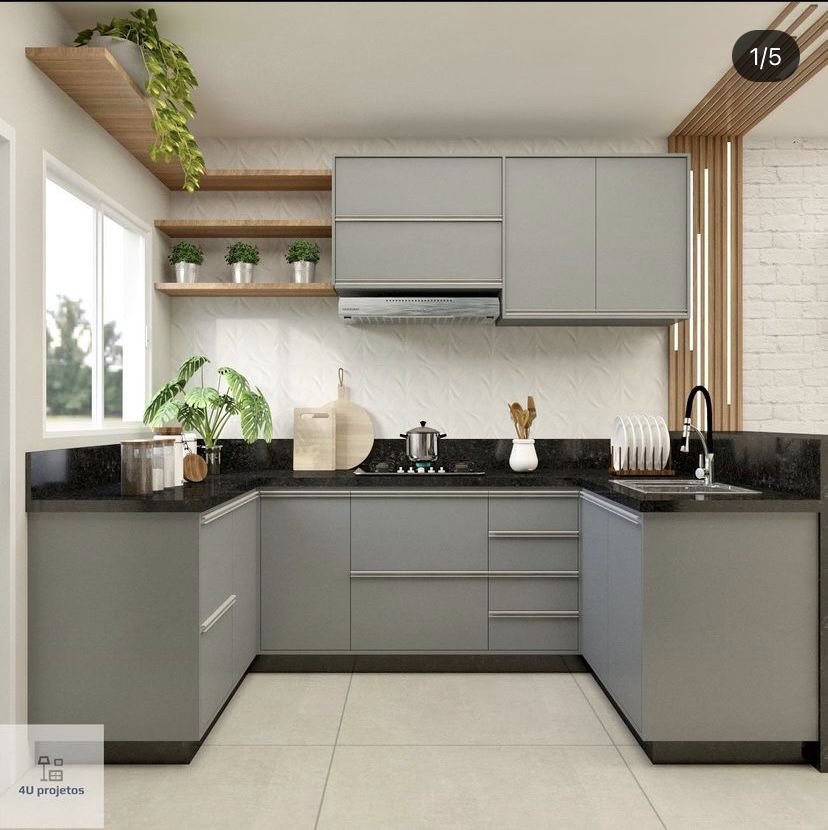
I still remember standing in my first studio apartment kitchen, holding a colander in one hand and a stack of mismatched lids in the other, genuinely wondering where everything was supposed to go. The kitchen was maybe 60 square feet — two burners, a bar-sized fridge, and about 18 inches of counter space. I’m not exaggerating when I say I had to keep my cutting board on the bathroom counter once because there was nowhere else to put it.
That was my rock bottom moment. And honestly? It pushed me to figure out a storage system that actually worked.
Over the next few months, I tried everything. Some ideas flopped completely (more on that later). But a handful of simple changes genuinely doubled how much I could store — without renovating anything or spending a fortune. These six ideas are the ones that made the real difference.
1. I Put a Tension Rod Under the Sink (Game Changer, Seriously)
This sounds almost too simple, but it completely transformed the messiest spot in my kitchen. Before I tried this, everything under my sink was a disaster — cleaning sprays tipped over, trash bags stuffed in corners, random sponges everywhere.
I grabbed a basic tension rod (the same kind used in closets) and stretched it across the inside of the cabinet, about halfway up. Then I hung all my spray bottles on it by their triggers. Suddenly, the entire bottom shelf was free for bins, trash bags, and dish soap.
What I spent: About $4 at a dollar store.
What I gained: Easily double the usable space under the sink.
If your spray bottles are currently just lying on their sides or crammed in a corner, try this first. It takes five minutes and costs almost nothing.
2. Vertical Dividers in Cabinets (For Pans, Lids, and Cutting Boards)
Here’s a mistake I made for way too long: stacking everything. Pans stacked inside pans, lids in a pile, cutting boards leaning awkwardly. Every time I needed the bottom pan, I had to pull out the entire tower.
Vertical dividers fixed this completely. You can buy adjustable ones made of coated wire or acrylic for under $15, or DIY them using tension rods placed vertically inside a cabinet.
Once I stood my cutting boards, sheet pans, and pot lids upright instead of flat, the same cabinet suddenly held almost twice as much — and everything was instantly accessible. No more pan avalanche.
Pro tip: Label each slot if you share a kitchen with someone. It sounds silly but it actually keeps the system intact.
Here’s a rough breakdown of how much space you can recover:
| Item Type | Stacking Method | Vertical Method | Space Saved |
|---|---|---|---|
| Cutting boards (3) | Takes up full shelf depth | Fits in 4 inches of width | ~70% space recovered |
| Pan lids (4) | Stacked, unstable pile | Standing upright in divider | ~60% space recovered |
| Baking sheets (2) | Flat, occupies half shelf | Vertical, uses 1 inch of width | ~80% space recovered |
3. Magnetic Knife Strip on the Wall (Freed Up an Entire Drawer)
I had a knife block sitting on my counter taking up valuable real estate. It held five knives and a pair of scissors — and it was just sitting there, doing nothing useful except blocking the outlet behind it.
Swapping to a magnetic knife strip on the wall was one of those “why didn’t I do this sooner” moments. Mounted it right next to the stove, put all six blades up there, and reclaimed an entire kitchen drawer.
That drawer is now home to my kitchen scissors, a peeler, a zester, and a few other small tools that used to live in a jumbled catchall situation.
One thing I didn’t expect: It made cooking faster too. Everything is visible, grab-and-go, no rummaging through a block or drawer.
You can find magnetic knife strips for around $10–20 on Amazon or at IKEA (the KUNGSFORS one is solid and looks clean). Mount it with the included hardware or with Command strips if you’re renting and can’t drill.
If you’re renting like I was, definitely check out these 11 easy tiny kitchen storage tricks for more no-drill, landlord-approved solutions.
4. Stackable Clear Bins in the Fridge and Pantry Cabinet
Before I did this, my pantry cabinet (one single shelf, about 12 inches deep) was a graveyard of half-open bags, lonely cans, and forgotten spice packets. I’d buy cumin, forget I had cumin, buy more cumin, and then find three jars of cumin when I finally cleaned it out.
Clear stackable bins changed everything. I grouped similar items — baking stuff, snacks, canned goods, grains — into separate bins. Now I can pull out the entire “baking” bin, grab what I need, and slide it back.
The key is clear. Opaque bins defeat the purpose because you can’t see what’s inside without pulling everything out. Brands like OXO, Fullcircle, and even generic store versions all work well. I personally use the simple IKEA KUGGIS boxes — they’re cheap, they stack, and they’re easy to wash.
In the fridge: Same concept. Small clear bins for deli items, one for condiments, one for dairy. It sounds rigid but it’s actually more flexible because everything has a home.
Here’s roughly what I was able to fit before vs. after in my pantry shelf:
| Before (no bins) | After (clear bins) |
|---|---|
| Items scattered, overlapping | Items grouped by category |
| Could access ~60% of items without moving others | Can access 100% without rearranging |
| Wasted back 4 inches of shelf (things got lost there) | Back of shelf fully used with tall bins |
| Bought duplicates constantly | Zero duplicate purchases in 6 months |
5. Over-the-Door Organizers — Not Just for Pantries
Most people know about over-the-door organizers for pantry doors. But I started using them on my actual cabinet doors too, and that’s where it got really interesting.
The inside of a cabinet door is essentially wasted space. It just faces the shelves. But mount a slim organizer on it — one of those narrow ones with clear pockets or small shelves — and suddenly you’ve added a storage surface that didn’t exist before.
I used this for:
- Spice packets and small seasoning bags (the ones that don’t fit in a spice rack)
- Measuring cups and spoons (hung on small hooks)
- Snack bars and tea bags (in pocket organizers)
- Saran wrap, foil, and parchment paper rolls (on a mounted rod)
For the foil and wrap rolls specifically, I used a mounted paper towel-style holder on the inside of a cabinet door. It keeps all three rolls in one spot and I can tear off a sheet without even taking the roll down.
Important mistake to avoid: Don’t overload the door. Cabinet hinges aren’t designed for heavy loads. Keep it light — packets, small tools, flat items. If you hang a cast iron pan on a cabinet door, that’s on you.
For more ideas on how to maximize small cabinet space, this article on genius storage ideas for small cabinets is genuinely worth reading.
6. Pegboard on One Wall (My Single Biggest Win)
Okay, this one took the most effort but delivered the most results by far. I installed a pegboard on a small wall next to my kitchen window — maybe 2 feet by 3 feet of space that was previously just painted drywall doing nothing.
Within a weekend, that pegboard became home to:
- Three pots and pans (hung on S-hooks)
- My colander
- A small shelf holding my olive oil and salt
- A row of hooks for utensils (spatulas, ladles, tongs)
- A small wire basket for onions and garlic
Everything that used to live inside my cabinets moved to the wall. And then my cabinets had room. Actual breathing room.
Cost breakdown:
| Item | Cost |
|---|---|
| Pegboard panel (2×4 ft) | ~$10–15 at hardware store |
| Pegboard hooks and accessories kit | ~$12–20 |
| Mounting hardware (standoffs) | ~$8 |
| Total | ~$30–43 |
The most important thing about pegboard installation: you need standoffs. These are small spacers that hold the board about an inch off the wall, which is what allows the hooks to actually hook through from behind. A lot of first-timers skip this step and then wonder why nothing fits.
If you’re not comfortable drilling into walls, painted pegboard panels can also be mounted using heavy-duty Command strips or leaned against a backsplash and secured at the top. It’s less sturdy but works for lighter items.
I genuinely didn’t expect how much this would change my day-to-day kitchen experience. Everything is visible. Nothing is buried. Cooking went from stressful to almost enjoyable in a kitchen that size.
For a closer look at how small habits compound into big results, this article on smart tiny kitchen organization tricks covers some of the mindset shifts that helped me stick with a system after I set it up.
The Mistakes That Set Me Back Before I Found What Worked
Before landing on these six ideas, I wasted time and money on a few things that didn’t pan out:
Buying more furniture: My instinct was to add a small rolling cart. But in a truly tiny kitchen, adding furniture creates more obstacles than it solves. Anything you bring in has to earn its space.
Pretty containers that weren’t practical: I went through a phase of buying matching ceramic canisters because they looked good. But opaque containers that don’t stack efficiently? Useless in a small kitchen. Function has to come first.
Ignoring vertical space: The biggest mistake overall was thinking about kitchen storage the way I’d think about a regular-sized kitchen — horizontal shelves, horizontal thinking. Small kitchens live and die by vertical space. Once I started looking at walls, doors, and the space above the counter as potential storage, everything shifted.
Not editing what I owned: Storage hacks can only do so much if you have too much stuff. I had to actually get rid of duplicate tools, broken gadgets, and specialty equipment I used once a year. A tiny kitchen with 60% of the stuff organized well beats a tiny kitchen crammed with everything.
What Actually Doubled My Space
Looking back, the combination that made the biggest difference wasn’t any single idea — it was the shift from thinking about shelf storage to thinking about all available surfaces: walls, doors, vertical dividers, and under-sink space. The six ideas above collectively freed up what felt like an entirely new cabinet’s worth of room.
None of this required a renovation. Most of it cost under $50 total. And the setup took maybe one focused Saturday afternoon.
If your kitchen feels impossible right now, start with the tension rod under the sink. Seriously — five minutes, $4, and you’ll feel the momentum shift. Then work your way up from there.
Also worth reading: 7 Smart Tiny Kitchen Storage Hacks That Double Your Space — a follow-up to this piece with more creative approaches, including some that work even in shared or rental kitchens.