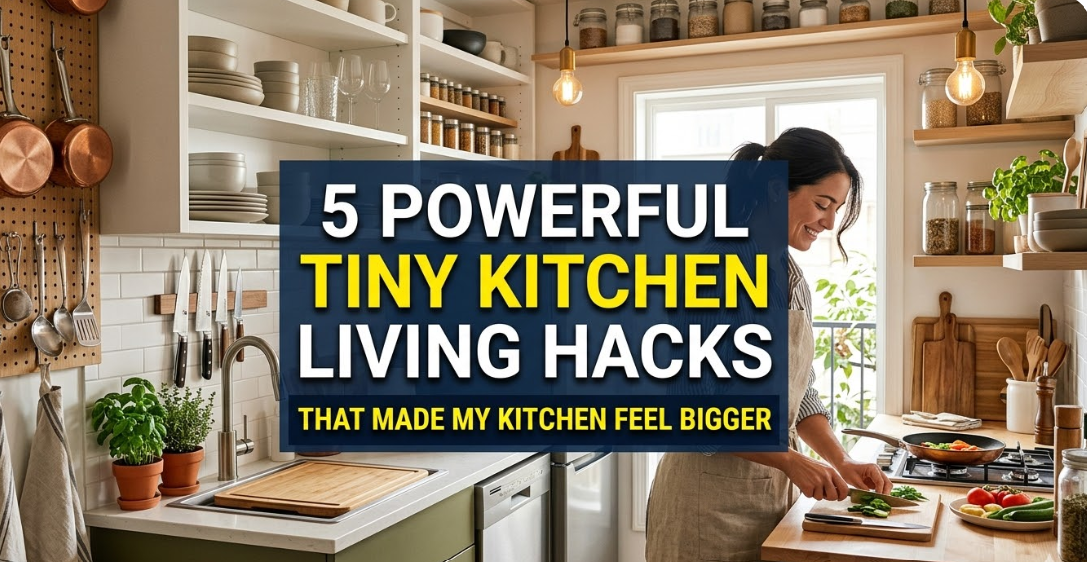
Meta Description: 5 Tiny kitchen living hacks that actually worked — powerful tricks that made my small Kitchen feel twice the size, without costly renovations.
5 Tiny Kitchen Living Hacks That Made My Space Feel Larger
I used to dread entering my kitchen.
It was small, cluttered, and made it seem like the walls were closing in every time I tried to prepare a meal. Pots were piled on top of pots. The counter had maybe six inches of space to use. And walking to the fridge involved backing up into the hall.
Sound familiar?
If you live in a small apartment or home with a compact kitchen, you know exactly what I’m describing. But here’s the thing — I did not renovate. I didn’t knock down walls or purchase pricey built-ins. Instead, I tested out a few simple, clever hacks that dramatically transformed how my kitchen looked and operated.
In this post, I will share the 5 tiny kitchen living hacks that were honestly the most impactful for me. These are tried and true life hacks — not Pinterest ideas that need a contractor and a big budget.
Let’s get into it.
Why Small Kitchens Feel So Overwhelming in the First Place
Before we dive into the hacks, it helps to understand why small kitchens can feel so claustrophobic.
It’s hardly ever just about square footage.
Most small kitchens feel cramped because of three things:
- Too much stuff with too little storage space
- Dark lighting that creates a stuffy atmosphere
- No clear visual flow or system of organization
Fix these three things — even a little bit — and the transformation is startling. Your kitchen does not have to be larger. It just needs to feel bigger.
That is precisely what these hacks are designed to do.
Hack #1 — Clear the Counters Like Your Life Depends on It
This one sounds brutal. But it is the single most powerful thing I did.
I used to spread everything out on my countertops. The toaster, the blender, the coffee maker, a knife block, a fruit bowl, a pile of mail, and somehow also a plant. Every inch was taken.
When I finally cleared almost everything off the counters, it was like my kitchen had doubled in size overnight.
Why Counter Space Changes Everything
Countertops serve as the visual foundation of any kitchen. When they are cluttered, your brain reads the entire room as messy and small. When they’re clear, the kitchen instantly appears more spacious — even if nothing else has changed.
The goal is not to keep your counters completely empty. The idea is to keep only what you use day in, day out.
The “Daily Use” Rule
Here is the basic test I applied:
If I haven’t used this item in the past 48 hours, it doesn’t get counter space.
My coffee maker stayed. My toaster was put away in a cabinet. My blender went under the sink. The knife block was ditched for a magnetic knife strip attached to the wall.
That last move alone freed up a full 12 inches of counter space.
Where to Store the Things You Move
- Store appliances you use a few times a week in upper cabinets
- Place infrequently used items high up in cabinets, or even outside the kitchen entirely
- Use a rolling cart in a different room for overflow items
The key insight here is that your kitchen does not have to store everything. It only needs to store the things you actually use on a regular basis.
Hack #2 — Go Vertical With Your Storage (Your Walls Are Wasted Space)
Most people living in tiny kitchen situations overlook one big resource sitting right in front of them.
The walls.
Floor space is limited in a small kitchen. But your walls? They run all the way to the ceiling, and most of that space is completely empty.
Going vertical with storage was the second biggest change I made — and it felt like I had suddenly gained a whole extra cabinet.
Simple Ways to Use Your Walls
Magnetic knife strips — Already mentioned this one, but it’s worth repeating. A magnetic strip mounted at eye level holds all your knives, frees up counter space, and honestly looks pretty cool too.
Pegboards — A pegboard on one wall can hold pots, pans, utensils, and cutting boards. You can rearrange it however you like. IKEA sells affordable versions, and they are customizable with different hooks and shelves.
Floating shelves — A few open shelves above your counter can store spices, oils, small appliances, or even cookbooks. They add storage without taking up any of your floor space.
Over-the-door organizers — The inside of cabinet doors is also a neglected space. Install small racks or organizers for spice packets, cleaning supplies, or wraps and foil.
Comparative Overview: Floor Storage vs. Vertical Storage
| Storage Type | Space Used | Capacity | Best For |
|---|---|---|---|
| Floor cabinets | High floor space | High | Pots, pans, heavy items |
| Wall-mounted shelves | Zero floor space | Medium | Spices, oils, small items |
| Pegboards | Zero floor space | High | Utensils, pans, tools |
| Over-door organizers | Zero floor space | Low-Medium | Spices, packets, wraps |
| Rolling carts | Low floor space | Medium | Flexible overflow storage |
The table makes it clear — vertical options give you solid capacity without invading your precious floor space.
Don’t Neglect the Space Above Your Cabinets
If your cabinets don’t go all the way to the ceiling, that empty space on top is usable storage. It’s a great spot for things you don’t need frequently — like a large roasting pan or holiday serving dishes. Use baskets up there to keep things organized and dust-free.
Hack #3 — Lighting Tricks That Make Walls Seem to Push Outward
This one was the biggest surprise for me.
I always thought lighting was only about being able to see what you were doing. But the right lighting in a small kitchen works like magic — it visually pushes the walls outward and makes the whole room feel airy and open.
What’s Wrong With Typical Small Kitchen Lighting
Most small kitchens have just one overhead light. Maybe a standard ceiling fixture or a fluorescent tube.
That one light throws shadows everywhere — under the cabinets, in the corners, on the counters. Those shadows give the kitchen a closed-in feeling that makes it seem smaller than it actually is.
Three Lighting Changes That Work
Under-cabinet lights — These are small LED strips or puck lights that stick under your upper cabinets. They shine light directly onto your countertops, eliminating those dark shadows. They make the kitchen feel instantly more spacious and also make cooking much easier. Battery-powered options require zero wiring.
Warm bulb color (2700K–3000K) — The color of your light matters more than you may realize. Cool white light (think hospital fluorescent) can feel harsh and cramped. Warm white light feels open, inviting, and bigger. Swap your bulbs if needed.
Mirrors or reflective surfaces near light sources — A small mirror or shiny tile backsplash near a light source bounces light around the room. This creates the illusion of more depth and space.
Lighting Placement Tips at a Glance
| Light Source | Where to Place | Effect |
|---|---|---|
| Under-cabinet LEDs | Under upper cabinets | Eliminates counter shadows |
| Pendant lights | Above island or sink | Draws eyes upward, adds height |
| Warm bulbs | Main ceiling fixture | Makes space feel open and cozy |
| Reflective backsplash | Behind stove or counter | Bounces light, creates depth |
No rewiring required. Start with under-cabinet LED strips (under $20 at most hardware stores) and a bulb swap. The difference is immediate.
Hack #4 — Adopt a “One In, One Out” Kitchen Philosophy
This hack is less about furniture or fixtures and more about a mindset shift.
It changed my kitchen permanently.
The Clutter Creep Problem
Small kitchens fill back up fast. You clear the counters. A week later, stuff has crept back. You find a clever storage solution. Within a month, that space is packed again.
This happens because tiny kitchen living requires an ongoing commitment — not a one-time declutter.
The “one in, one out” rule solves this permanently.
How the Rule Works
Simple: Every time a new item comes into the kitchen, one item leaves.
Buy a new spatula? An old one goes. Get a new mug as a gift? An old mug leaves the cabinet. New dish soap under the sink? The old, almost-empty bottle gets used up first — no stockpiling.
This keeps the total number of items in your kitchen flat. It never grows. Your storage solutions never get overwhelmed.
What to Do With Items That Leave
- Donate to a local thrift store or food pantry
- Offer to friends or family
- Toss if broken or too worn
This isn’t minimalism for minimalism’s sake. The goal is intentional ownership. Every item in your kitchen should earn its place.
Bonus Tip: The “Kitchen Audit” Every Six Months
Every six months, I go through every cabinet and drawer and ask one question:
Did I use this in the last six months?
If the answer is no, it gets the boot. This catches things the one-in-one-out rule misses — like that egg slicer you used twice in 2021 and never touched again.
Hack #5 — Colors, Mirrors, and Visual Tricks That Fool the Eye
The final hack is all about perception.
You can make your tiny kitchen look bigger without moving a single shelf or buying a single storage bin. It all comes down to how your brain reads color, light, and visual space.
Light Colors Make Rooms Feel Larger
This is not a new idea — interior designers have used it for decades. But it bears repeating because so many small kitchens are painted dark colors or have very busy, dark patterns everywhere.
Light shades — whites, creams, soft grays, pale blues — reflect light. They make walls look farther away. They open up a space visually.
If you can paint your kitchen walls (even just one wall), going with a light, neutral tone will make a noticeable difference.
If painting isn’t an option (hello, renters), try:
- Light-colored contact paper on cabinet faces
- A light-colored rug or mat on the floor
- Open shelves instead of solid cabinet doors (shows wall color, creates depth)
The Mirror Trick
A strategically placed mirror in a small kitchen does two things:
- Reflects light, making the room brighter
- Creates the illusion of depth — it looks like there is more space behind it
You don’t need a giant mirror. A simple rectangular mirror on one wall, or a mirrored backsplash panel, works beautifully.
Keep Patterns Simple
Busy patterns — on wallpaper, tile, or even dish towels left on display — make small spaces feel chaotic and cramped. Stick to simple, clean lines and minimal patterns wherever possible.
Flooring That Adds Depth
If you have any control over your kitchen flooring, diagonal tile patterns or light-colored floors can visually widen the room. Even a simple light-colored runner rug down the center of the kitchen can elongate the space.
Putting It All Together: A Week-by-Week Plan
You don’t have to do all five hacks at once. Here’s a simple schedule to roll them out without feeling overwhelmed:
| Week | Hack to Tackle | Estimated Time |
|---|---|---|
| Week 1 | Clear counters, apply the daily-use rule | 2–3 hours |
| Week 2 | Add vertical storage (shelves, pegboard, strips) | 3–5 hours |
| Week 3 | Update lighting (LED strips + bulb swap) | 1–2 hours |
| Week 4 | Adopt the one-in-one-out rule (and first audit) | Ongoing |
| Week 5 | Apply visual tricks (paint, mirrors, declutter patterns) | 2–4 hours |
Take it one week at a time. In five weeks, your kitchen will feel like a completely different space.
If you want to go deeper on any of these strategies, Tiny Kitchen Living is a fantastic resource packed with practical ideas for making the most of a compact kitchen.
Real Results: Before and After My Tiny Kitchen
To give you an idea of what this actually looks like in practice, here’s a breakdown of the changes I noticed:
Before the hacks:
- About 6 inches of usable counter space
- One overhead light with heavy shadows
- Cabinets so packed I couldn’t find anything
- Felt anxious every time I walked in to cook
After the hacks:
- About 24 inches of clear counter space
- Bright, shadow-free kitchen with warm under-cabinet lighting
- Every item visible and easy to reach
- Actually enjoy cooking again
The kitchen did not get one square foot bigger. But it feels twice the size.
FAQs About Tiny Kitchen Living Hacks
Q: Do these hacks work in a rental kitchen where I can’t make permanent changes?
Absolutely. The vast majority of these hacks need no permanent alterations. Adhesive-backed LED strips, over-door organizers, pegboards with adhesive hooks, and simple decluttering all work perfectly in rentals. Even the mirror trick can be done with a free-standing mirror leaned against the wall.
Q: What is the single most impactful change I can make first?
Clear your countertops. It takes only a few hours, costs nothing, and produces the most dramatic visual result of any hack on this list. Start there before anything else.
Q: How do I get my family or roommates to follow the one-in-one-out rule?
The preferable route is to make it a shared conversation, not a dictated rule. Explain the problem and the solution together. When everyone understands why the kitchen fills up so fast, they are usually on board. You can also assign each person their own cabinet or shelf space so everyone has clear ownership.
Q: Are pegboards hard to install?
Not at all. Basic pegboards just need a few screws into wall studs. Most hardware stores will cut the board to your size for free. The whole install can take under an hour. If you rent and can’t drill into walls, freestanding pegboard frames are available too.
Q: How do I keep light colors from looking dirty in a small kitchen?
Light colors can show smudges more easily, but a quick weekly wipe-down keeps them looking fresh. Use washable paint finishes (satin or semi-gloss) on walls so cleaning is easy. The bright, open feeling you get is absolutely worth the minor extra upkeep.
Q: Can lighting really make that much of a difference in a tiny kitchen?
Yes — more than most people expect. Lighting is one of the most underrated tools in small-space design. According to The Spruce’s guide to small kitchen lighting, strategic lighting placement can make a compact kitchen feel dramatically more open and functional. Under-cabinet lights alone can transform how spacious and workable a kitchen feels — and it’s one of the cheapest changes on this list.
The Verdict on Tiny Kitchen Living
Living with a small kitchen does not have to mean living with a stressful kitchen.
The five hacks in this article — clearing counters, going vertical, improving lighting, adopting a one-in-one-out mindset, and using visual tricks — work together to completely transform how your kitchen looks and feels.
None of them require a contractor. Most cost very little. And all of them can be done over a few weekends at your own pace.
The biggest shift, honestly, was in my mindset. Once I stopped fighting the small size of my kitchen and started working with it, everything changed. I gave up trying to fit a big kitchen life into a small kitchen space and started designing a small kitchen life that actually fit my space.
That is what tiny kitchen living is really about.
Not downsizing your life — just getting smarter about your space.
Try one hack this weekend. Clear those counters. What happens next will astonish you.