Meta Description: Tiny kitchen living doesn’t have to feel cramped. Here are 12 easy upgrades that instantly save space, increase storage and help your small kitchen work smarter.
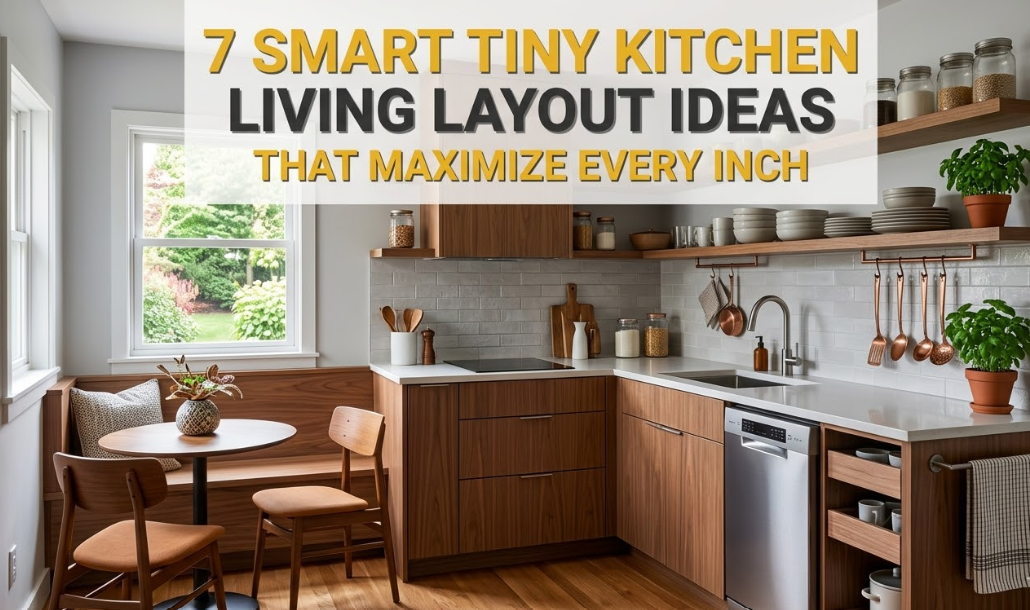
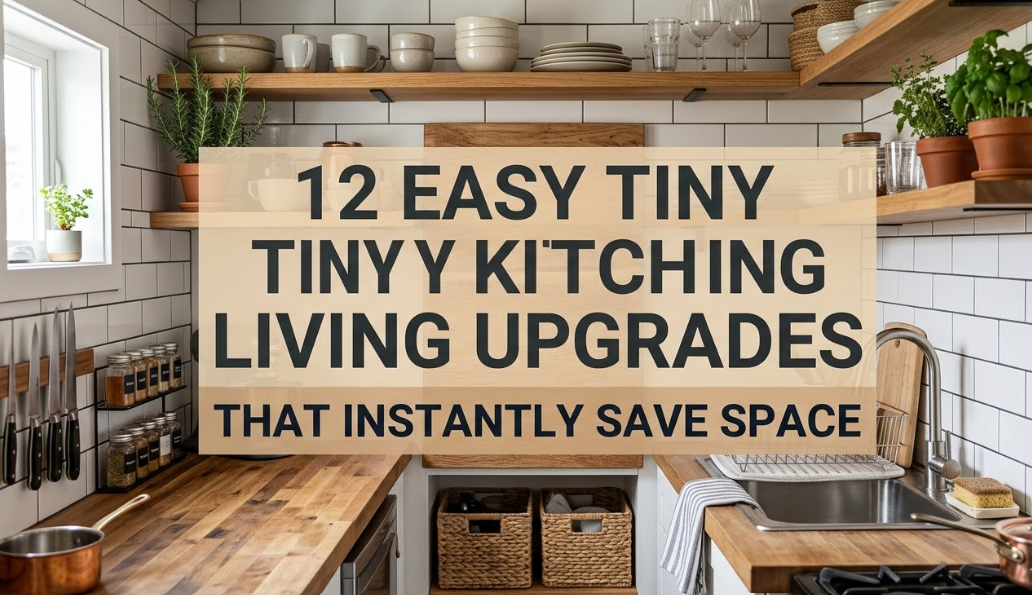
12 Tiny Kitchen Living Upgrades That Instantly Save Space
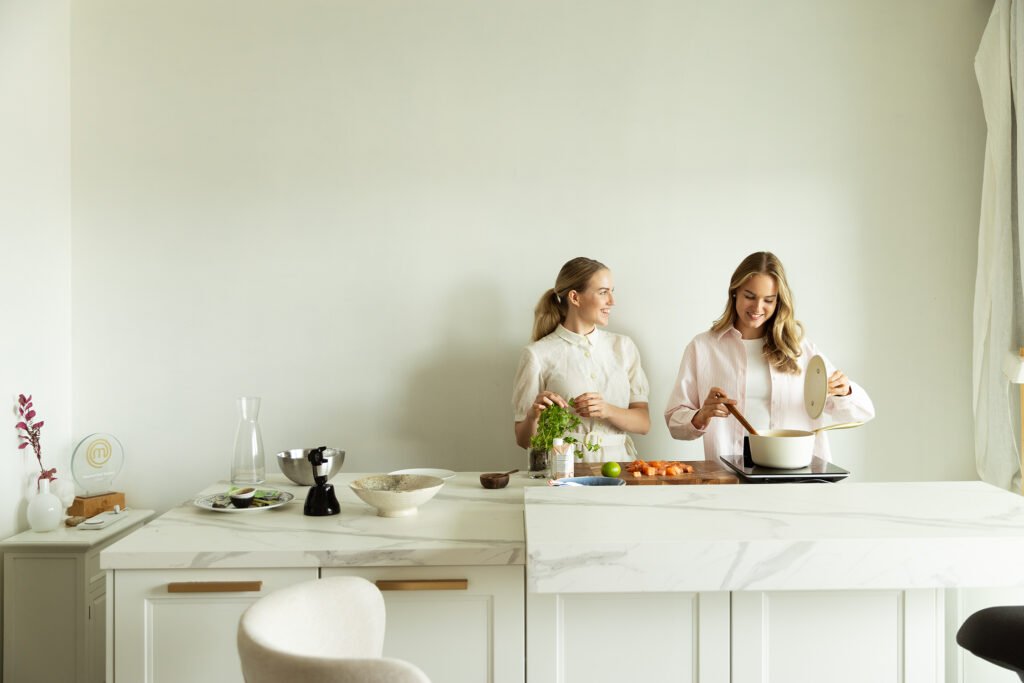
If you’re in a small apartment, studio or tight home, you already know the challenge. Counter space disappears fast. Cabinets overflow. And making a simple meal can be like solving a puzzle.
But here’s the silver lining: Tiny kitchen living doesn’t have to be a pain. Even the smallest kitchen can feel open, orderly and surprisingly functional with the right upgrades.
You don’t need a complete overhaul. You don’t have to pay a lot. These 12 smart, easy upgrades will change the game of your little kitchen — and most you can pull off in a weekend.
Let’s get into it.
Why Tiny Kitchen Upgrades Are More Important Than You Realize
A messy kitchen impacts more than cooking. It ramps up the stress in your daily life. It takes time when you are looking for things. It even makes it less likely that you will cook healthy meals at home.
Small changes add up fast. It’s when every inch of space is put to good use that your kitchen ceases to be a problem — and becomes part of the solution.
The upgrades below range from the easiest fixes to mildly more involved ones. All are beginner-friendly, budget-conscious and tested in real tiny kitchens.
1. Install a Magnetic Knife Strip on the Wall
If you have a knife block taking up residence on your counter, it is consuming valuable real estate every single day.
A magnetic knife strip attaches directly to your wall and stores all of your knives flat against the surface. No counter footprint. No bulky block. Just clean, open counter space where you need it most.
Why it works: Vertical wall space is nearly always wasted in tiny kitchens. Magnetic strips take zero counter space and help your kitchen look more organized, even modern.
How to do it: Most magnetic knife strips include screws and wall anchors. You will need a drill, a level and about 20 minutes. For maximum convenience, mount it near your prep area.
Cost: $15–$40, depending on length and material.
2. Add an Over-the-Sink Cutting Board
Here’s one that professional small-kitchen designers prize: the over-the-sink cutting board.
It’s a cutting board that is sized to fit directly over your sink. It provides an extra surface when you have things to chop and prep. When you’re finished, it slides away or sits upright.
Why it works: Your sink eats up a lot of counter space. Temporary coverage doubles that area without permanent alterations.
Bonus tip: Certain versions even feature built-in colanders and slots for knives, making them a multifunctional tool for tiny kitchen living.
Cost: $20–$60.
3. Skip Upper Cabinets and Install Floating Shelves
Conventional upper cabinets can make a small kitchen feel cramped and gloomy. Floating shelves open things up visually while providing you just as much — sometimes more — storage.
Open shelving also mandates that you remain organized. Since everything is exposed, there’s no way to conceal clutter behind a cabinet door.
Best items for open shelves:
- Everyday dishes and bowls
- Glasses and mugs
- Tins or jars of dry goods such as pasta, rice and grains
- Cookbooks you actually use
What to avoid on open shelves: Things you use very infrequently, or items that grease up quickly — those are better behind closed doors.
Cost: $20–$80 per shelf, depending on material and type of brackets.
4. Double Your Storage Under the Sink With a Tension Rod
One of the most underutilized areas in any tiny kitchen is the cabinet under your sink. Pipes make it tricky, so most people just shove cleaning products in and leave them be.
A straightforward tension rod placed inside the cabinet becomes an instant hanging bar. Hang spray bottles by their triggers. Use S-hooks to hang smaller bottles. All of a sudden, that vertical space in that cabinet is working for you.
Why this upgrade is so underrated: The cost is nearly zero, the install takes five minutes, and it creates free storage out of nothing.
Cost: $5–$15 for a tension rod.
5. Swap Single-Use Appliances for Multi-Use Ones
Every appliance sitting on your counter in a small kitchen is prime real estate. If an appliance does one thing only, it may not be worthy of a spot.
Evaluate what you have and ask yourself: can one appliance do the job of two or three others?
| Appliance to Replace | Multi-Use Replacement |
|---|---|
| Toaster + Microwave | Toaster oven with microwave function |
| Blender + Food Processor | High-powered blender with processor attachment |
| Rice Cooker + Slow Cooker | Instant Pot / multi-cooker |
| Electric Kettle + Coffee Maker | All-in-one pour-over coffee station with kettle |
Pro tip: When you introduce a new multi-use appliance, pledge to remove the items it replaces. Don’t let new additions pile on top of old ones.
6. Attach a Pegboard to One Kitchen Wall
A pegboard is one of the most versatile storage tools you can bring to any tiny kitchen. It’s a flat board with evenly spaced holes that can secure pegs, hooks, shelves and bins in whatever configuration you wish.
Hang pots and pans. Store utensils. Add a small shelf for spices. Hook a paper towel holder. Hang measuring cups.
Why it works better than regular shelves: It’s flexible as your needs shift. There’s no permanent commitment.
Where to mount it: Next to your stove or behind your prep area works best. A simple 2×3 foot pegboard can free up a whole drawer and two shelves worth of items.
Cost: $20–$60 for the board, plus a few dollars for hooks and accessories.
7. Go Vertical With a Rolling Kitchen Cart
When counter space is limited, consider going vertical instead of horizontal.
A rolling kitchen cart with shelves provides a portable prep station, extra storage and sometimes even a small drawer for tools. Best of all, you can roll it wherever it’s needed — and out of the way when it’s not.
What to look for in a kitchen cart:
- At least two shelves under the work surface
- Locking wheels so it stays put when you’re using it
- A butcher block or stainless steel top that doubles as extra prep space
- A hanging bar on the side for towels or utensils
Bonus: In tiny kitchen living situations, a cart can also serve as a mini island or an eat-in counter with a bar stool on one side.
Cost: $50–$200, depending on size and material.
8. Use Stackable, Uniform Food Storage Containers
Open your pantry or any cabinet right now. Chances are you’ll see a patchwork of containers, half-sealed bags and boxes that don’t stack properly.
This chaos wastes more space than most people realize.
Switching to a set of uniform, stackable containers makes an instant difference in your pantry or cabinets. Rectangular containers stack perfectly and use space more efficiently. In a tight space, square always beats round.
Best foods to transfer to containers:
- Flour, sugar, oats
- Rice, quinoa, lentils
- Cereal and granola
- Pasta and dried beans
- Snacks like nuts or crackers
Added bonus: Clear containers let you see exactly what you have, so food waste is minimized.
Cost: $30–$70 for a full set.
9. Hang Your Paper Towel Holder on a Cabinet Door
This one is so simple it almost feels like cheating.
Many people have a freestanding or counter-mounted paper towel holder on their counter. Tuck it inside a cabinet door with a simple under-cabinet mount, and you’ve instantly reclaimed that counter space.
The same idea works for:
- Garbage bags — a roll fits nicely behind a cabinet door
- Holders for aluminum foil and plastic wrap
- Small cutting boards
Why cabinet doors are the unsung hero of tiny kitchens: Most people only use the shelf space inside a cabinet. The door itself — which opens and closes dozens of times a day — can store tools, accessories and supplies.
Cost: $8–$20 for an inside-cabinet paper towel holder.
10. Create a Spice Wall Using Small Magnetic Jars
Spices are one of the largest clutter culprits in any kitchen. A full spice rack occupies shelf space. A drawer full of bottles is a mess. And those rotating spice carousels take up counter space.
The answer: magnetic spice jars mounted on your wall, your fridge or the side of a metal cabinet.
These small magnetic tins with clear lids let you see exactly what each jar holds. They lie flat on any magnetic surface. They don’t consume any counter or cabinet space.
How to set it up:
- Get a set of magnetic spice tins — most come with 20–30 jars
- Use a label maker or chalkboard label to label each tin
- If your surface isn’t already magnetic, mount a magnetic sheet or metal strip on the wall
- Organize spices according to how you cook
Cost: $20–$45 for a full magnetic spice jar set.
11. Add a Fold-Down Wall-Mounted Table
For those without space for a kitchen table or even a small island, a fold-down wall-mounted table may be a game-changer.
When not in use, these tables mount flush to the wall. Fold them down and they become a full dining surface, prep table or work area. Fold them back up and your floor space opens right back up.
Best placement ideas:
- A slim wall next to your kitchen entrance
- The wall directly opposite your kitchen counter
- A hallway that opens into the kitchen
Styles available: Some fold-down tables have built-in storage slots for chairs. Others include shelving when folded up. Murphy-style designs are particularly sleek for studio apartments.
Cost: $60–$250, depending on size and design.
12. Reorganize Using the “Zone” Method
This final upgrade doesn’t cost a cent — but it has the potential to be the most powerful one on this whole list.
The zone method means arranging your kitchen so that everything you need for a specific task lives in one place.
Common kitchen zones:
| Zone | What Goes There |
|---|---|
| Prep Zone | Cutting boards, knives, peelers, measuring tools |
| Cooking Zone | Pots, pans, spatulas, oven mitts, oils and spices |
| Cleaning Zone | Dish soap, sponges, drying rack, cleaning supplies |
| Breakfast Zone | Coffee maker, mugs, toaster, cereal, plates |
| Storage Zone | Pantry items, food containers, bulk goods |
When everything has a zone, it belongs somewhere. And when everything has a home, clutter doesn’t accumulate.
In a small kitchen, the zone method is what stands between a chaotic kitchen and one that feels fully in control — even when it’s small.
Quick Overview: All 12 Upgrades at a Glance
| Upgrade | Difficulty | Avg. Cost | Space Saved |
|---|---|---|---|
| Magnetic knife strip | Easy | $15–$40 | Counter |
| Over-the-sink cutting board | Easy | $20–$60 | Counter |
| Floating shelves | Medium | $20–$80 | Floor/counter |
| Tension rod under sink | Easy | $5–$15 | Cabinet |
| Multi-use appliances | Easy | Varies | Counter |
| Pegboard wall | Medium | $20–$60 | Drawers/shelves |
| Rolling kitchen cart | Easy | $50–$200 | Counter/floor |
| Stackable containers | Easy | $30–$70 | Pantry/cabinets |
| Cabinet-door paper towel holder | Easy | $8–$20 | Counter |
| Magnetic spice wall | Easy | $20–$45 | Shelves/counter |
| Fold-down wall table | Medium | $60–$250 | Floor space |
| Zone method | No cost | $0 | Mental clarity + space |
How to Prioritize These Upgrades in Your Kitchen
Not sure where to start? Use this simple approach:
Step 1 — Find your biggest pain point. Is it counter clutter? Cabinet overflow? No room to prep? Begin with the upgrade that directly resolves your most significant frustration.
Step 2 — Focus on the easiest wins first. The tension rod under the sink ($5), the cabinet-door paper towel holder ($8) and the zone method ($0) bring immediate results with minimal investment.
Step 3 — Work your way up to bigger upgrades. After the quick wins are done, consider a rolling cart, floating shelves or a fold-down table if your budget allows.
Step 4 — Re-evaluate after 30 days. Living with your changes for a month will give you a much clearer picture of what’s still bothering you — and what your next upgrade should be.
According to The Spruce’s guide to small kitchen organization, even simple storage tweaks can dramatically improve how a small kitchen functions day to day — which lines up perfectly with every upgrade on this list.
Tiny Kitchen Living Upgrades: FAQs
Q1: What’s the single best upgrade for a small kitchen with little counter space?
An over-the-sink cutting board is one of the quickest ways to carve out usable prep space without making any permanent alterations. Couple it with moving your paper towel holder inside a cabinet door, and you’ll feel the difference instantly.
Q2: Are these upgrades feasible in a rental apartment?
Absolutely. The majority of these upgrades are entirely renter-friendly. Magnetic knife strips, tension rods, over-the-sink boards, rolling carts, magnetic spice jars and the zone method don’t require permanent installation. Floating shelves and pegboards require drilling, so check your lease first — or use heavy-duty removable mounting strips as an alternative.
Q3: What are the secrets to keeping a tiny kitchen clean and organized long-term?
The zone method is your best long-term friend. When everything has a place, resetting your kitchen after cooking becomes that much easier. A five-minute clean-up habit at the end of every day also goes a long way in a small space.
Q4: Isn’t open shelving a bad idea in small kitchens?
Not at all — in fact, open shelves can make a small kitchen feel bigger by eliminating the visual “wall” of closed cabinet doors. The secret is keeping them organized and not overcrowding them. If clutter is a challenge for you, only put everyday items on display and keep infrequently used things tucked behind closed doors.
Q5: What are the best multi-use appliances for tiny kitchen living?
The Instant Pot (pressure cooker, slow cooker, rice cooker and steamer in one) and a quality toaster oven with air fryer capabilities are consistently rated as top space-savers for small kitchens. Either can replace three to four single-use appliances.
Q6: What is the approximate total cost to upgrade a tiny kitchen with all these tips?
If you implement all 12 upgrades at mid-range prices, you’re looking at roughly $300–$700 total. However, you can see massive results with just $50–$100 by starting with the lowest-cost, highest-impact upgrades first.
Final Thoughts: Small Kitchen, Endless Possibilities
Tiny kitchen living is all about intention. Every tool, appliance and container should earn its place. When you stop allowing things to accumulate and start planning your kitchen around the way you genuinely cook, something changes.
Your kitchen no longer feels like a constraint. It begins to feel like a space that works with you rather than against you.
You do not need more square footage. You need smarter systems — and now you have 12 of them.
Pick one upgrade from this list and do it this week. Just one. Then notice how that one small change makes your kitchen feel different. When you see it, you’ll be motivated to keep going.
A practical, well-organized tiny kitchen is entirely achievable — and it all begins with one step.