the kitchen cabinets and there’s not a single drawer anywhere. Not one. And almost without fail, the same sentence comes out: “I can’t function without drawers. I just can’t.”
I understand the reaction. But I want to push back on it, because after 24 years in kitchen and bath design, I’ve seen plenty of small kitchens with zero drawers that function beautifully. Better, sometimes, than kitchens twice their size with full drawer banks. Drawers are one solution to a specific problem. They’re not the problem itself.
What people actually need isn’t drawers. They need fast, reliable access to their tools. And there are several ways to get there.
1. The Belief That’s Getting in the Way
The assumption that drawers are non-negotiable comes from what most of us grew up with. A standard American kitchen has somewhere between 15 and 20 drawers. They become invisible because they’re everywhere. So when you move into a galley kitchen or a studio with two upper cabinets and a lower cabinet and nothing else, the absence feels like a foundational problem.
But think about what a drawer actually does. It lets you retrieve shallow items without bending. It keeps loose tools from scattering. It organizes things horizontally in a contained space with a single pull motion. That’s the function.
The form is negotiable.
The mistake I see most often isn’t choosing the wrong bin or the wrong hook. It’s trying to build a drawer replacement that behaves exactly like a drawer, which never quite works, and then concluding that the entire setup is a failure. The better question is simpler: what’s the fastest way to get your hand on this specific thing?
Once you stop asking “where do I put my utensils so they act like they’re in a drawer?” and start asking “how do I access my utensils quickly?”, the options open up considerably.
2. What Actually Does the Work
Here’s what I’ve seen function reliably in drawerless kitchens, based on real spaces with real people cooking in them.
Magnetic wall strips for knives and metal tools. A 16-inch magnetic bar mounted near your cooking zone holds six to eight knives and gives you access in one second flat. No fumbling. And here’s something worth knowing: knives stored on a magnetic strip actually hold their edge better than knives stored in a drawer, because they’re not rolling against each other or a plastic organizer insert. This is one of those situations where the constraint produces a better outcome than the conventional setup would have.
Pegboards above the prep area. Pegboards have a craft-room reputation, but in a small kitchen they earn their keep. A 24×36 inch board can hold your most-reached-for pans, a colander, measuring cups, scissors, and a roll of foil. The thing that separates a functional pegboard from a cluttered one is this rule: hang only what you reach for at least twice a week. Anything else goes in a cabinet. Pegboards turn into visual noise the moment people start treating them as open storage for everything they own.
Tension rods inside lower cabinets. This one surprises people every time. Run a tension rod vertically inside a lower cabinet and you’ve created a slot system for baking sheets, cutting boards, and sheet pan lids that would otherwise fall over constantly. Two rods give you multiple slots. It costs about $3 and takes two minutes to install.
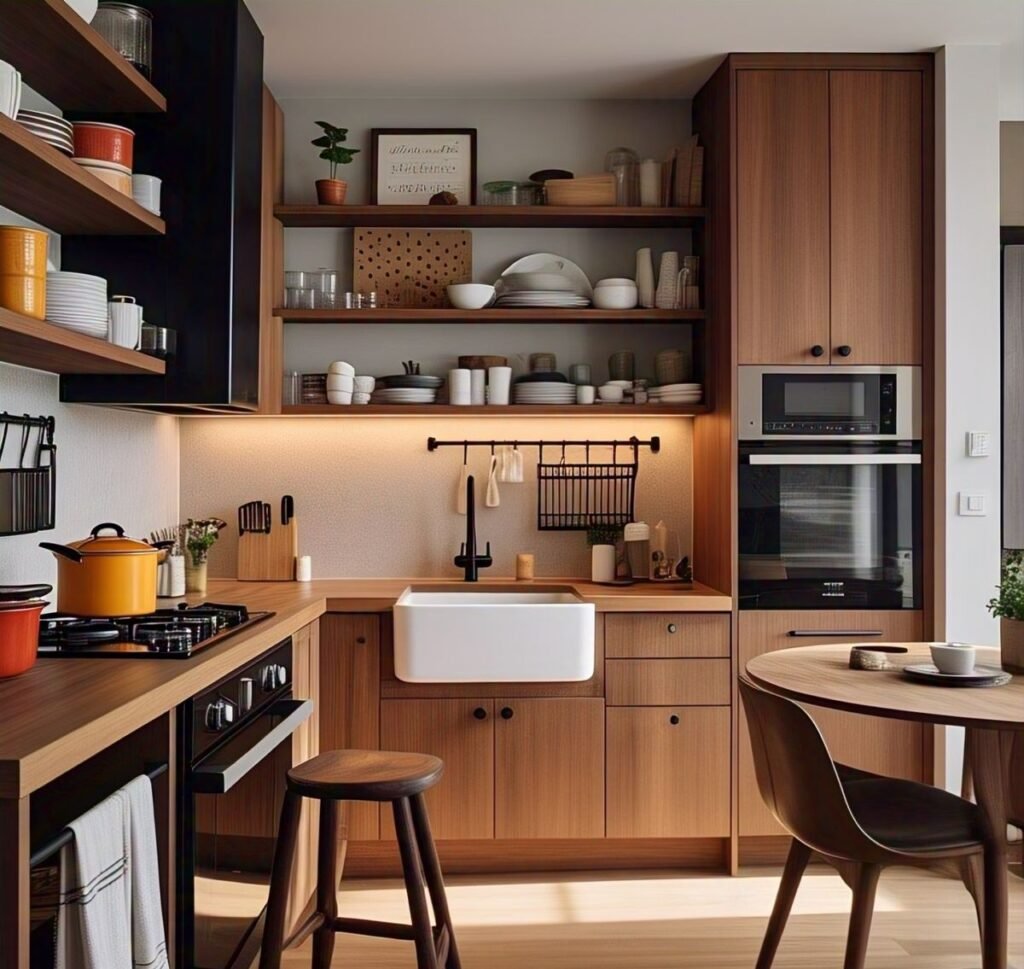
Countertop crocks for cooking tools. A tall ceramic crock next to the stove holds spatulas, wooden spoons, ladles, tongs, and a whisk. You see everything at once, grab in a single motion, and replace it just as fast. I actually timed this once in a kitchen I was redesigning, comparing how long it took to find and retrieve a spatula from a drawer versus from a crock. The crock was faster by about four seconds, which doesn’t sound significant until you multiply it across a hundred dinner prep sessions. Professional kitchens rarely use drawers for cooking tools. There’s a reason.
Door-mounted organizers. The inside face of a cabinet door is almost always wasted space. A mounted rack there can hold spice jars, foil boxes, plastic bags, or a small cutting board. This works best on solid-construction cabinet doors, not hollow-core particleboard, but for anything light, it’s excellent real estate that most people completely ignore.
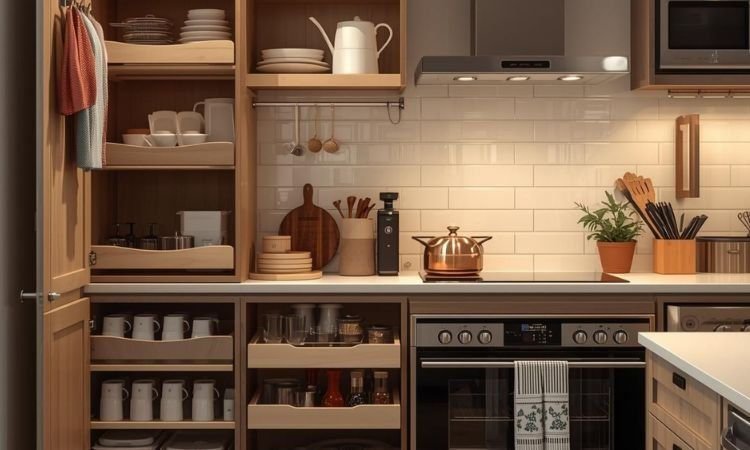
Rollout baskets inside lower cabinets. If your lower cabinets have enough interior depth, a wire rollout basket on slides converts a static, dark shelf into something close to a drawer. These come in standard widths and typically run $30 to $60. For anyone who’s installed a shelf before, these are manageable on a weekend afternoon without professional help.
I write about these kinds of small-space solutions regularly here at Tiny Kitchen Living, and the principle I keep coming back to is this: start with the wall, then work inward. Use vertical surfaces before you give up floor space or counter space you don’t have. That applies to tiny kitchen storage solutions of almost every kind.
3. Matching Each Category to What Works
Before I finalize any kitchen design, drawers or not, I do what I call a category audit. Every type of item that will live in the kitchen gets listed out, and then we figure out where each one actually belongs, separate from what the physical structure currently offers. After that, we match the categories to what’s available.
Here’s how that plays out in a drawerless kitchen:
| Item Category | Best No-Drawer Solution | What to Avoid |
|---|---|---|
| Knives | Magnetic wall strip | Countertop knife block (uses prep space) |
| Cooking utensils | Ceramic crock on counter | Wide shallow bin where things tip and hide |
| Measuring cups and spoons | Pegboard hooks or S-hook ring | Loose in a cabinet where they get buried |
| Baking sheets, cutting boards | Tension rod slots inside lower cabinet | Stacking flat (they avalanche every time) |
| Pot lids | Door-mounted lid rack | Stacking under the pot in a pile |
| Spices | Tiered shelf insert or door rack | Single row where you always dig to the back |
| Foil, parchment, plastic wrap | Door pocket or tall narrow bin | Drawer (the boxes fall apart and tangle anyway) |
| Silverware | Divided tray placed directly on a cabinet shelf | Loose on any shelf without containment |
The goal of this table isn’t to be rigid. It’s to shift the question from “I need a drawer for this” to “what actually gets me to this thing quickly?” Sometimes that’s a hook. Sometimes it’s a labeled bin. Occasionally it really is a small drawer insert you’ve retrofitted into a shelf. But the need is almost never as total as it first seems.
4. The Category That Consistently Goes Wrong
Silverware. Every time.
People ask about silverware in a drawerless kitchen, and then they either buy a countertop silverware caddy that takes up six inches of counter they don’t have, or they dump flatware into a cabinet shelf without any organizer and it scatters into a pile the moment the door swings.
The most functional solution I’ve come across is a divided utensil tray, the same style you’d put inside a drawer, placed directly on a cabinet shelf near where you unload the dishwasher. It’s not a glamorous answer. But it works because the tray contains and separates, which is exactly what the drawer was doing anyway. You’ve just taken the tray out of the drawer and put it on a shelf.
If you eat at a counter or small table rather than a full dining table, keeping silverware in a single jar or crock on the table itself is also legitimate. It just needs a fixed spot and needs to stay there.
What doesn’t work, at all, is silverware loose on a cabinet shelf. Things go missing in the back, you sort through the whole pile every time you need a fork, and it gets worse over time, not better. But here’s the thing: that’s not a drawerless kitchen problem. That’s an organization problem that drawers were papering over for years. The drawer was hiding the absence of a system.
For more on making cabinets actually functional in a small space, the tiny kitchen organization section is a useful place to start.
5. Two Real Scenarios, Two Different Approaches
I worked with a renter once who had a studio apartment with the original 1940s kitchen intact. Two upper cabinets, one lower, a shelf above the stove, and no drawers. No possibility of cabinet modification, either, because she was renting and the landlord was, let’s say, unenthusiastic about changes.
We installed a magnetic strip along the side wall for knives. A lightweight pegboard went up above the counter using adhesive mounting strips (landlord-approved, damage-free). Tension rods inside the lower cabinet created slots for her four sheet pans, the cooking utensils went into a tall crock beside the stove. A divided tray for silverware sat on the lower cabinet shelf, and a tiered spice insert doubled her spice capacity in one upper cabinet.
She called me a few months later to say the setup was more functional than the kitchen in her previous apartment, which had a full bank of drawers. I wasn’t surprised. But I did notice she said it with genuine astonishment, like she hadn’t believed it would actually work out.
The second scenario I hear about often here on Tiny Kitchen Living is someone with a little more flexibility but a tight budget. In that case, the combination that consistently delivers the best return is a rollout basket for the lower cabinet and a magnetic strip for the wall. Just those two things solve maybe 60 percent of the friction in a drawerless kitchen.
If you’re trying to figure out where to start, the tiny kitchen hacks section covers a lot of low-cost, no-permanent-installation interventions that work well for renters especially.
The drawerless kitchen asks you to be more intentional about placement than you might otherwise need to be. That’s not a punishment. In my experience, the people who’ve had to think carefully about where each tool lives often end up with cleaner, more efficient kitchens than people who had 18 drawers and never had to think about it once.
The goal was never the drawer. The goal was always being able to cook without friction.
FAQs
Can I actually add drawers to cabinets that don’t have them?
If you own the space and the cabinet boxes are standard width, yes. A cabinetmaker or experienced DIYer can install pull-out drawer inserts into existing lower cabinets without replacing the whole cabinet. For renters, this is usually off the table, but rollout baskets that rest on the cabinet floor without permanent installation get you most of the same function.
What’s the best way to store pot lids without a drawer?
A vertical lid rack, either freestanding on a shelf or mounted to the inside of a cabinet door, is the cleanest option I know. Lids stored upright are visible and retrievable one-handed. Stacking them horizontally seems orderly at first, but the moment you pull one from the middle, the rest fall over and you’re adjusting the pile every time you need a lid. It’s a small daily frustration that compounds fast.
How do I keep shelves from becoming disorganized over time?
Assign a specific category to each shelf and protect that assignment. A bin or tray for each category helps anchor things. When a shelf starts collecting items that don’t belong there, it’s usually a signal that something in the system needs a small adjustment, not that the whole approach has failed. Often the fix is just moving one thing.
Do pegboards actually hold up in a rental apartment?
For lightweight items, adhesive mounting strips can hold a pegboard without damaging the wall. For anything with real weight, you’d need screws and landlord approval. Some people bypass wall contact entirely by resting a freestanding pegboard panel on a counter or deep shelf. It’s not ideal from a spatial standpoint, but it’s completely functional and leaves no marks.
What single change makes the most difference in a drawerless kitchen?
A labeled bin system inside your cabinets. Once every category of item has a container and a fixed location, the absence of drawers matters far less than you’d expect. Drawers provide containment and separation. Bins do the same thing. The drawer was always just the structure. The containment is what you actually needed.