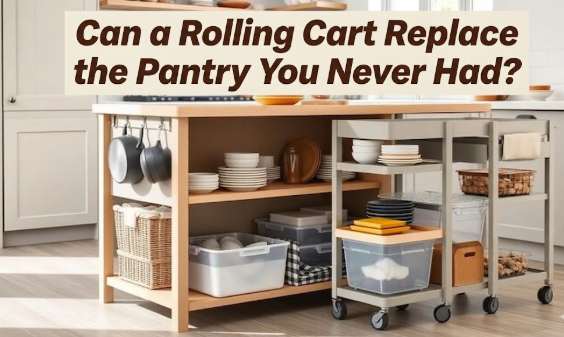
Most kitchens with “no pantry” actually have one. It’s just disguised as a cabinet nobody has bothered to organize properly.
I see this constantly in the kitchens I design for clients in older apartments, converted lofts, and studios where a pantry closet was never part of the original layout. People assume they need a dedicated room or a wall of floor-to-ceiling shelving to call something a pantry. They don’t. One cabinet, set up with intention, can hold a genuinely functional food storage system for one or two people, sometimes three if everyone’s reasonable about bulk grain purchases.
The problem isn’t usually space. It’s that the cabinet is being used the way a junk drawer gets used. Things go in at eye level, things get pushed to the back, and within two months it’s a guessing game every time someone needs flour.
1. The Real Problem Isn’t Space, It’s Zoning
A standard base cabinet, the kind under most counters, gives you somewhere between 24 and 36 inches of width and roughly 22 inches of depth. That’s more usable volume than people think. The issue is almost never that the cabinet is too small. It’s that everything inside it is competing for the same horizontal shelf instead of being organized by how often it gets touched.
I tell clients to think of the cabinet in thirds, not as one open box. The bottom third holds the heavy, infrequently grabbed stuff, sacks of rice, the big jug of olive oil, canned goods you buy in bulk. The middle third, the zone at hip to chest height, holds what you reach for daily. The top third is for things you can identify by shape alone, since you’ll rarely see them clearly from below.
This sounds obvious written out. It’s almost never how people actually load a cabinet. If you’ve ever stared at one of these and felt like there’s “no system that would work here,” it’s worth reading through why cabinet space runs out faster than you’d expect, because the math behind it explains a lot of what goes wrong before you even start organizing.
2. Measure Before You Buy a Single Organizer
Don’t skip this. I’ve watched people buy a beautiful set of acrylic bins, get them home, and discover the cabinet shelf is half an inch too shallow. Measure the interior width, the depth, and the distance between each fixed shelf if your cabinet has them. Write the numbers down. Phone notes are fine, but actually write them down somewhere you’ll check at the store, not just remember.
If your cabinet has only one or two fixed shelves and a lot of open vertical space, that’s good news. It means you have room to add risers or a second tier without cutting anything. If it has three or four shelves already built in, your job is less about adding height and more about subdividing each shelf into smaller, defined sections.
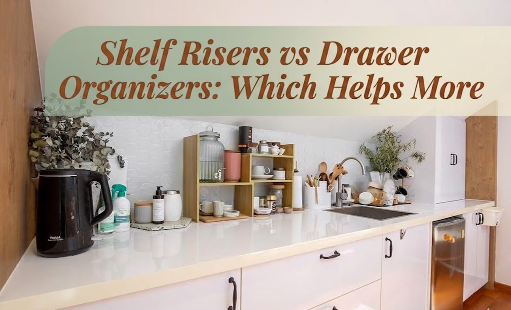
A lot of people in no-pantry kitchens end up debating between shelf risers and drawer-style pull-outs for this exact cabinet. Both work, and which one wins depends on the depth you’re working with, which is covered in more detail in shelf risers versus drawer organizers if you want the longer comparison.
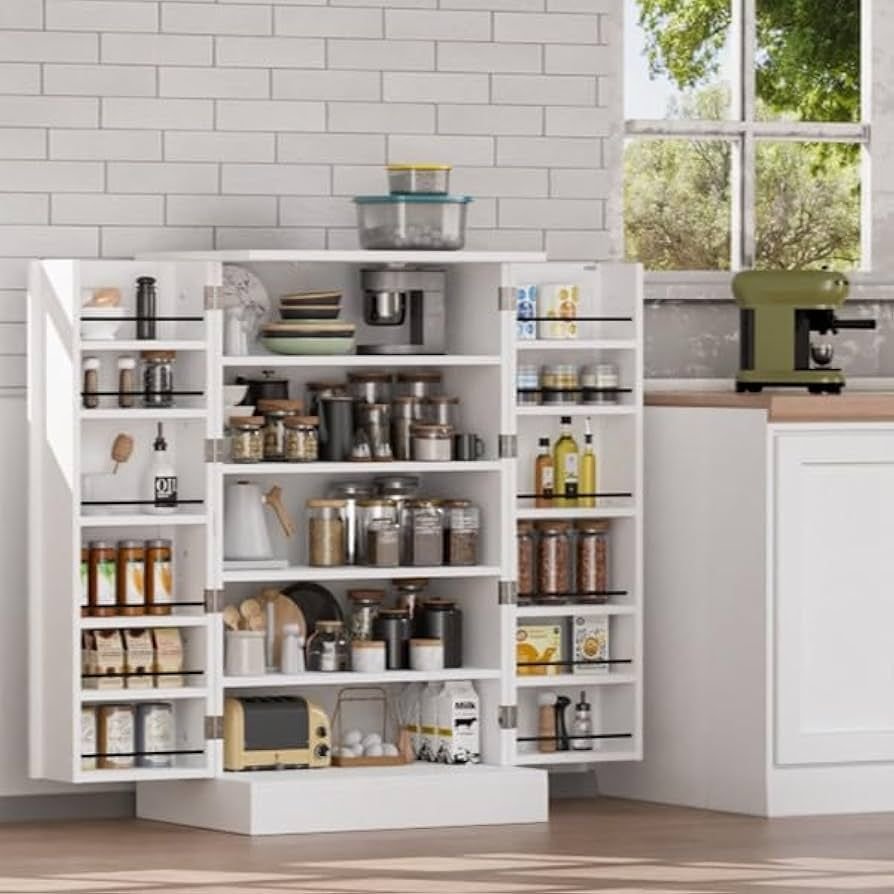
3. Build the Zones That Actually Make This a Pantry
Here’s the part that turns a cabinet into a system instead of just a tidier mess. You’re building five functional zones, even though it’s one physical space.
| Zone | What goes here | Best tool |
|---|---|---|
| Bulk and backup | Rice, pasta, canned goods, oils | Floor of cabinet, no riser needed |
| Daily staples | Bread, snacks, cereal | Eye-level shelf, front-facing baskets |
| Baking and dry goods | Flour, sugar, baking soda | Stackable airtight bins, labeled |
| Small jars and spices | Spices, sauces, condiments | Tiered shelf riser or door rack |
| Overflow and rotation | Extras, gifts, seasonal items | Top shelf, bin with handle for easy pull-down |
The spice and small-jar zone is usually where people give up first, mostly because they try to use the same flat shelf for jars as they do for boxes. That doesn’t work. Spices need a riser or a slim rack so the back row isn’t invisible. If you don’t have room for a dedicated spice setup, there’s a workaround for organizing spices without a spice rack that fits well inside this kind of cabinet layout.
I’ll be honest, the bulk and backup zone is the one I personally redo most often in my own kitchen, not because the system fails but because it’s tempting to treat it like a junk catch-all again the second life gets busy. It happens to designers too. That’s not a flaw in the system, it’s just what unattended storage does to anyone.
4. Where People Usually Get This Wrong
The most common mistake isn’t poor product choice. It’s loading the cabinet from the front instead of the top down. People shop, come home, and stack new items in front of whatever’s already there because it’s faster. Six weeks later, the back half of the cabinet is a mystery and three things have expired without anyone noticing.
The fix is almost annoyingly simple: new items go to the back, older items get pulled forward. This is basic first-in-first-out logic, the same thing restaurants use, and it works in a cabinet the size of a microwave just as well as it works in a walk-in.
The second mistake is buying organizers before measuring the actual contents you own. People grab a set of matching bins because they look good in photos, then realize half their pantry items don’t fit the bin dimensions. Buy bins after you’ve sorted what you actually have, not before.
And one more, smaller thing. If your cabinet doesn’t have a pantry to begin with and you’re working entirely from scratch, it’s worth reading small kitchen, no pantry, now what before you commit to this exact layout, since some kitchens are better served by a hybrid setup using a cabinet plus an over-the-sink shelf for overflow.
5. Keeping the System Running After the First Month
Every organized cabinet looks great on day one. The real test is week six. What keeps this kind of system intact isn’t more bins, it’s a five-minute reset every time you put groceries away. Pull the old stock forward, slide new stock to the back, and resist the urge to just shove the bag of chips wherever there’s a gap.
If you live with other people, label the zones, even loosely. A strip of masking tape with “daily” and “backup” written on it solves more kitchen arguments than people expect.
At Tiny Kitchen Living, the systems that actually last in small kitchens are the ones that survive someone other than the organizer using them. A pantry cabinet that only works when one specific person maintains it isn’t really a system. It’s a temporary win.
This setup won’t fix a kitchen that genuinely has nowhere to put food. But for the very common situation of “I have one decent cabinet and nothing else,” it’s one of the more reliable fixes I recommend, and it tends to hold up far better than people expect once the zones are actually defined instead of guessed at.
FAQs
Can this work in a cabinet that’s only 18 inches wide?
Yes, though you’ll need to drop one zone, usually the overflow shelf, and rely on door-mounted storage to make up the difference. Narrow cabinets do better with vertical dividers than wide bins.
Do I need to buy matching containers for this to work?
No. Matching containers are aesthetic, not functional. What matters is that containers are sized correctly for the shelf depth and that similar items are grouped, not that they’re color coordinated.
What if my cabinet doesn’t have adjustable shelves?
You can still use risers and stackable bins to create tiers within a fixed shelf. It’s less flexible, but the same five-zone logic still applies.
How often should I actually do the full reset, not just the quick put-away?
Once a month is realistic for most households. Anything more frequent tends to get skipped, and once a month is often enough to catch expired items before they become a problem.
Is this different from how I’d organize a real walk-in pantry?
The principles are identical, frequency-based zoning, FIFO rotation, defined sections. The only real difference is scale. A walk-in just gives you more room to be forgiving about placement.
If you want to keep working through small-kitchen storage fixes one problem at a time, browsing through more posts on Tiny Kitchen Living is a reasonable next stop.